|
Mailjet is a cloud-based email delivery and tracking system which allows users to send marketing emails and transactional emails. To enable Mailjet to send authenticated mail from your domain your SPF and DKIM settings must be enabled. |
 |
| Table of Contents |
1. Mailjet SPF Setup
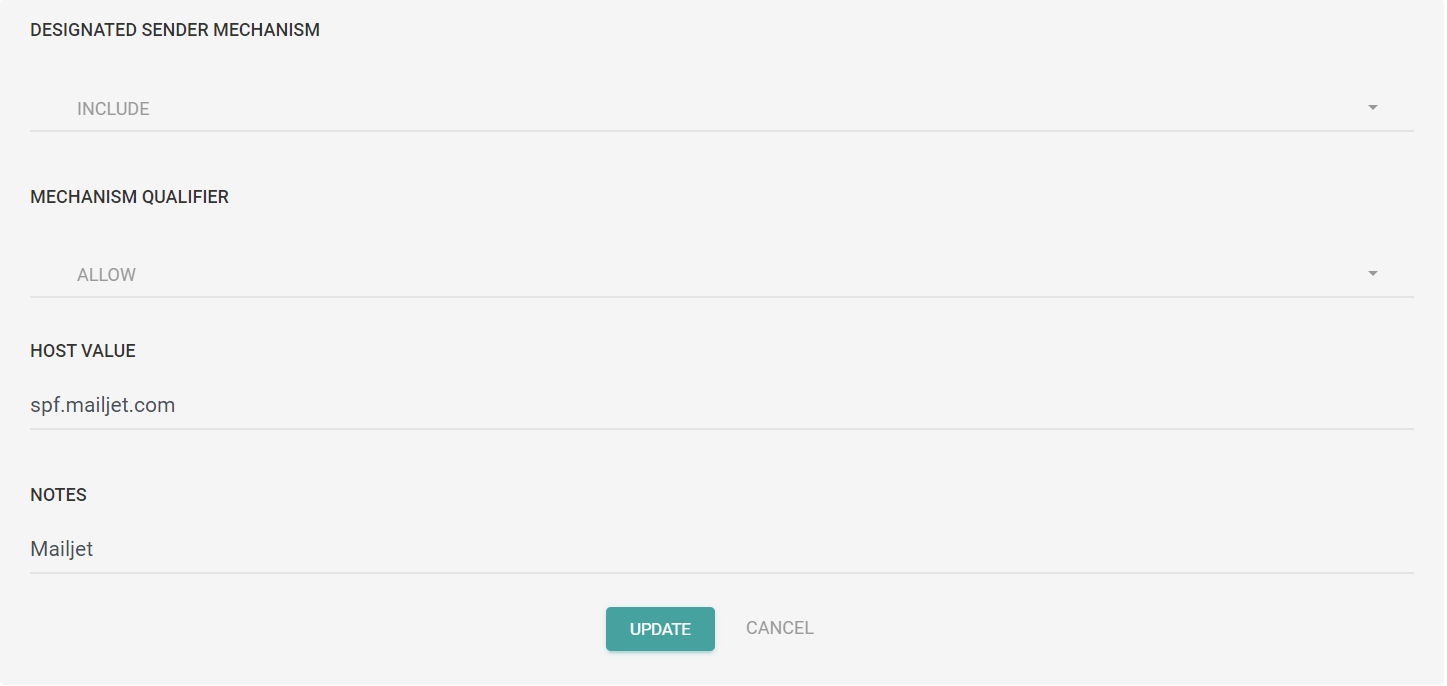
Please note that the following SPF changes should only be applied to the Sendmarc record within Sendmarc and not the hosting provider.
| Include String | include:spf.mailjet.com |
2. Mailjet DKIM Setup
DKIM digitally sign emails from your Mailjet service with your domain name(s) and build your brand identity in all your communication with customers. Mailjet now supports DKIM (Domain Key identified Mail) thereby being DMARC (Domain-based, Message Authentication, Reporting, and Conformance) compliant, making your organization capable of authenticating your communication with your customers.
A quick guide to setting up DKIM in Mailjet
To set up DKIM you need to first update your DNS records with the Mailjet domain key so that it can be located and used for verifying signatures.
The UI and terminology might change across different domain registrars but the essential setup would remain more or less the same. Follow the procedure below to spoof-proof your marketing emails:
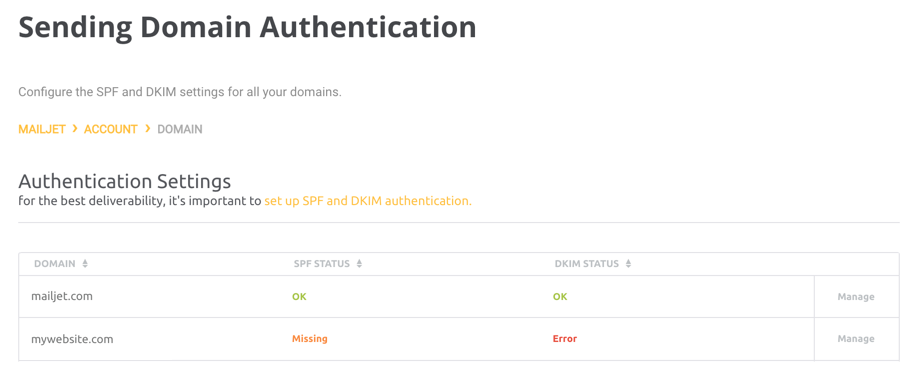
From your Sending Domain Authentication page, you will find all your sending domains and their SPF & DKIM statuses. (Every time you add a sending email address or domain, the domain will be added to the Sending Domain Authentication page.)
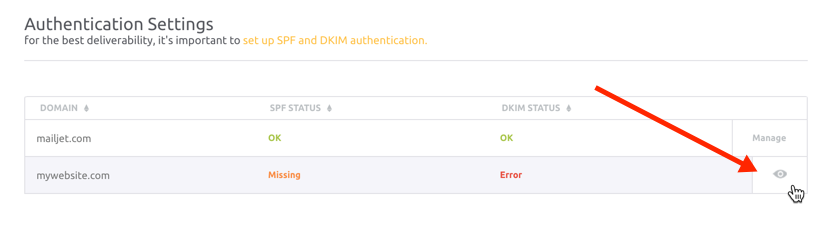
For the domain you want to authenticate, click on ‘Manage’ to view the SPF & DKIM values.
You will then see a screen with the status of your SPF and DKIM states, your DKIM key is also on this screen.
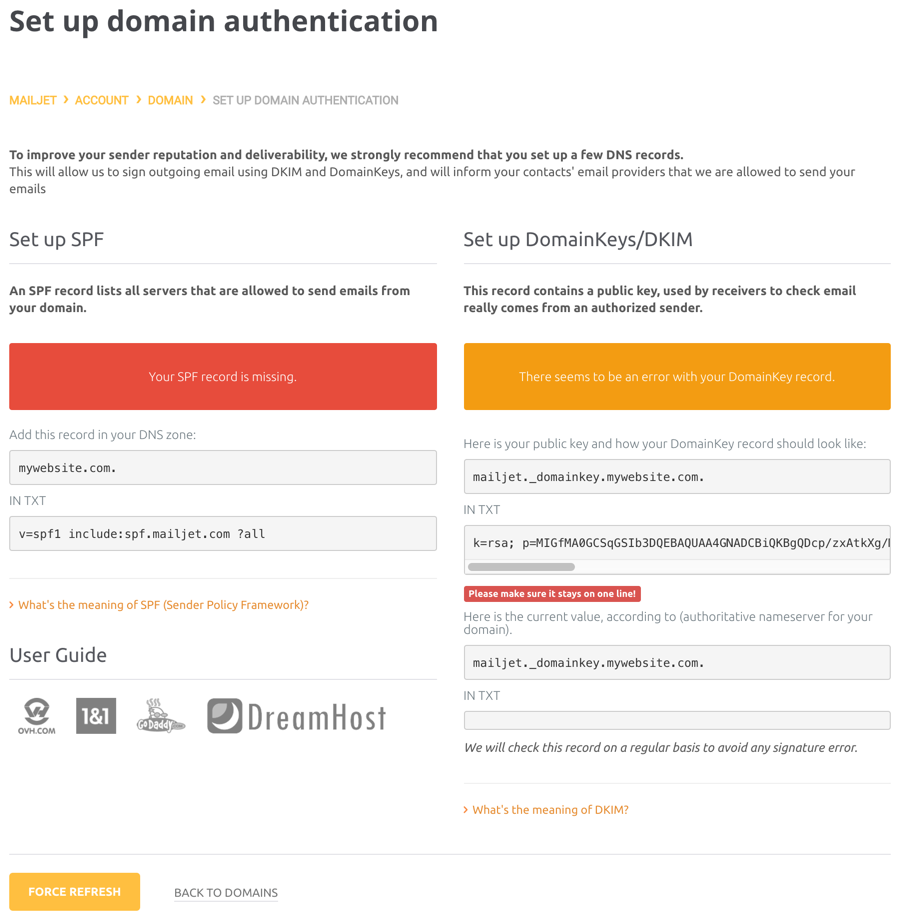
To set up DKIM authentication, you will be creating a new DKIM record. (Unlike SPF records, there are no issues with having multiple DKIM DNS records in your domain.)
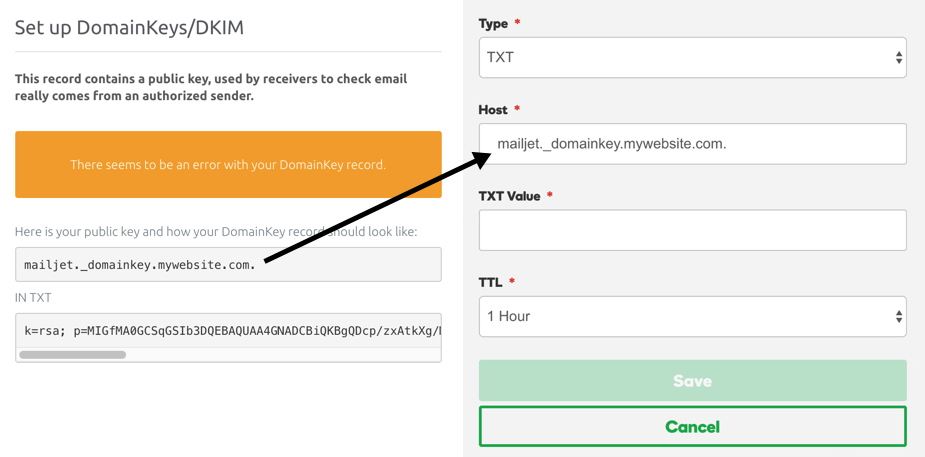
Create a new DNS record of type TXT from your domain hosting account.
In the Host Field, add the value: mailjet._domainkey.yourdomain.com.
(and replace yourdomain with the domain name you are authenticating.)
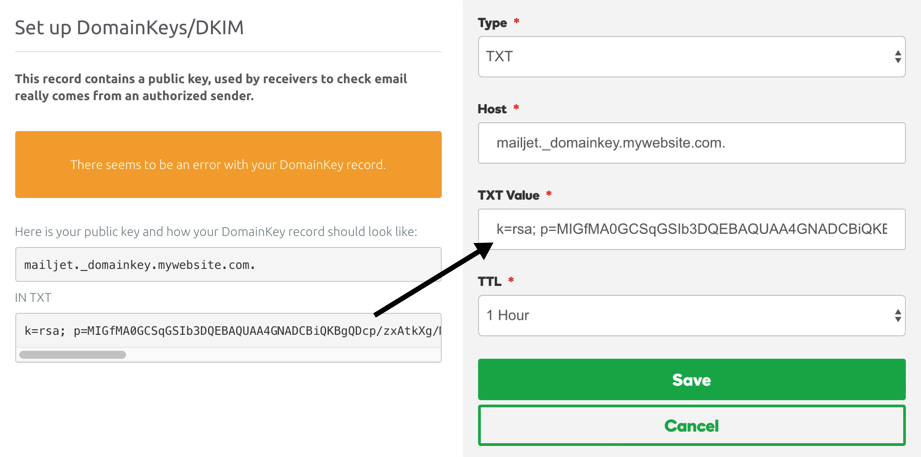
The second step is to copy the DKIM value into the TXT Value Field.
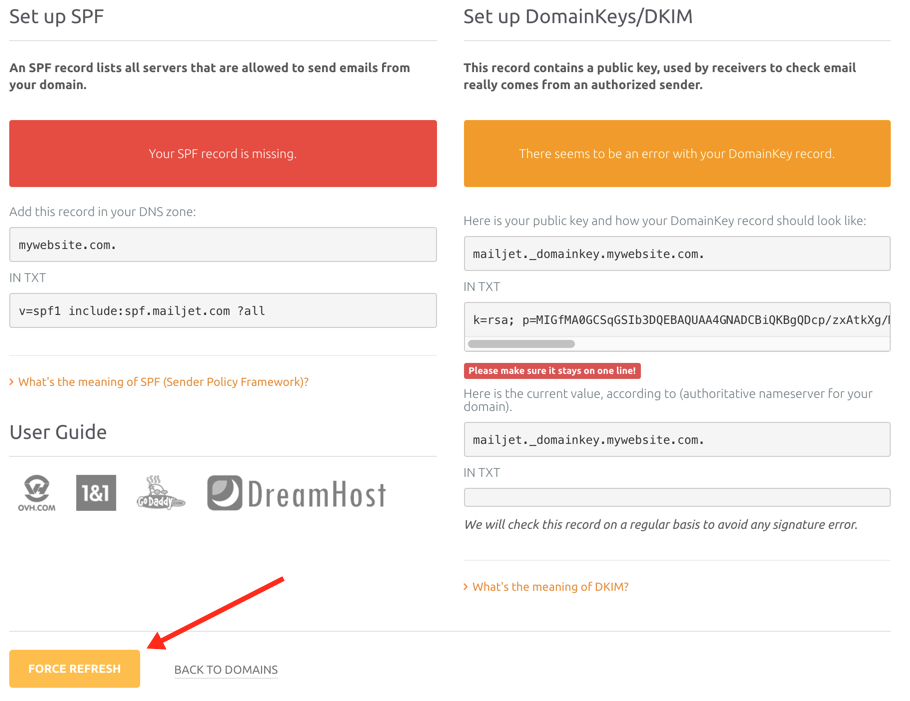
3. Verify your DNS Status
Once you have completed and saved your SPF & DKIM records, jump back to your Mailjet page and click the ‘Force Refresh’ button.
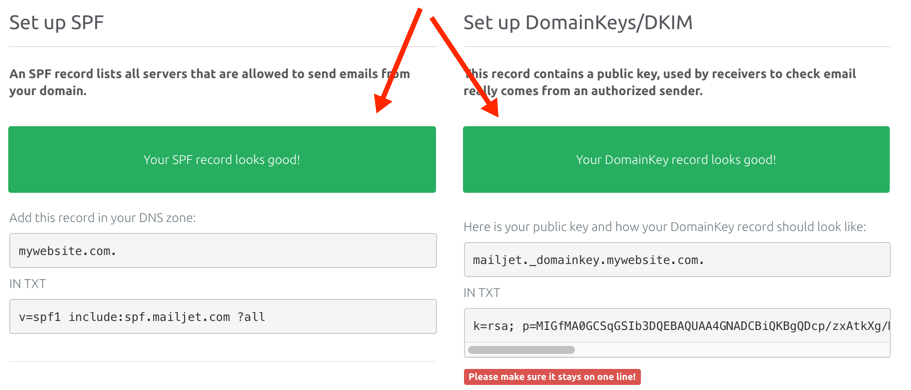
Once your domain has been authenticated, you will see the green ‘looks good’ message.
Please note, you need to force a refresh to check the status as Mailjet does not automatically check for SPF & DKIM changes.
It may take up to 24 hours for your DNS changes to reach the Mailjet system.