|
Google Workspace makes working together a whole lot easier. With one click, turn your meeting into a video conference from any camera-enabled computer, phone, or tablet. Share your screen to review your work as a team, and make decisions on the spot. |
 |
| Table of Contents |
1. Google Workspace SPF Setup
To authorize Google Workspace hosts to send emails on behalf of your domain, you need to:
1. Log in to your domain's DNS dashboard;
2. Go to the page where you can update the DNS settings on that domain;
3. Check if a TXT record starting with v=spf1 already exists; if so, the domain already has an SPF record and you need to update it; otherwise, you need to create an SPF record;
| For adding Google Workspace to existing SPF record | include:_spf.google.com |
2. Google Workspace DKIM Setup
Follow the steps below to set up DKIM authentication in Google Workspace:
1. Navigate to Google Admin Console, and log in:
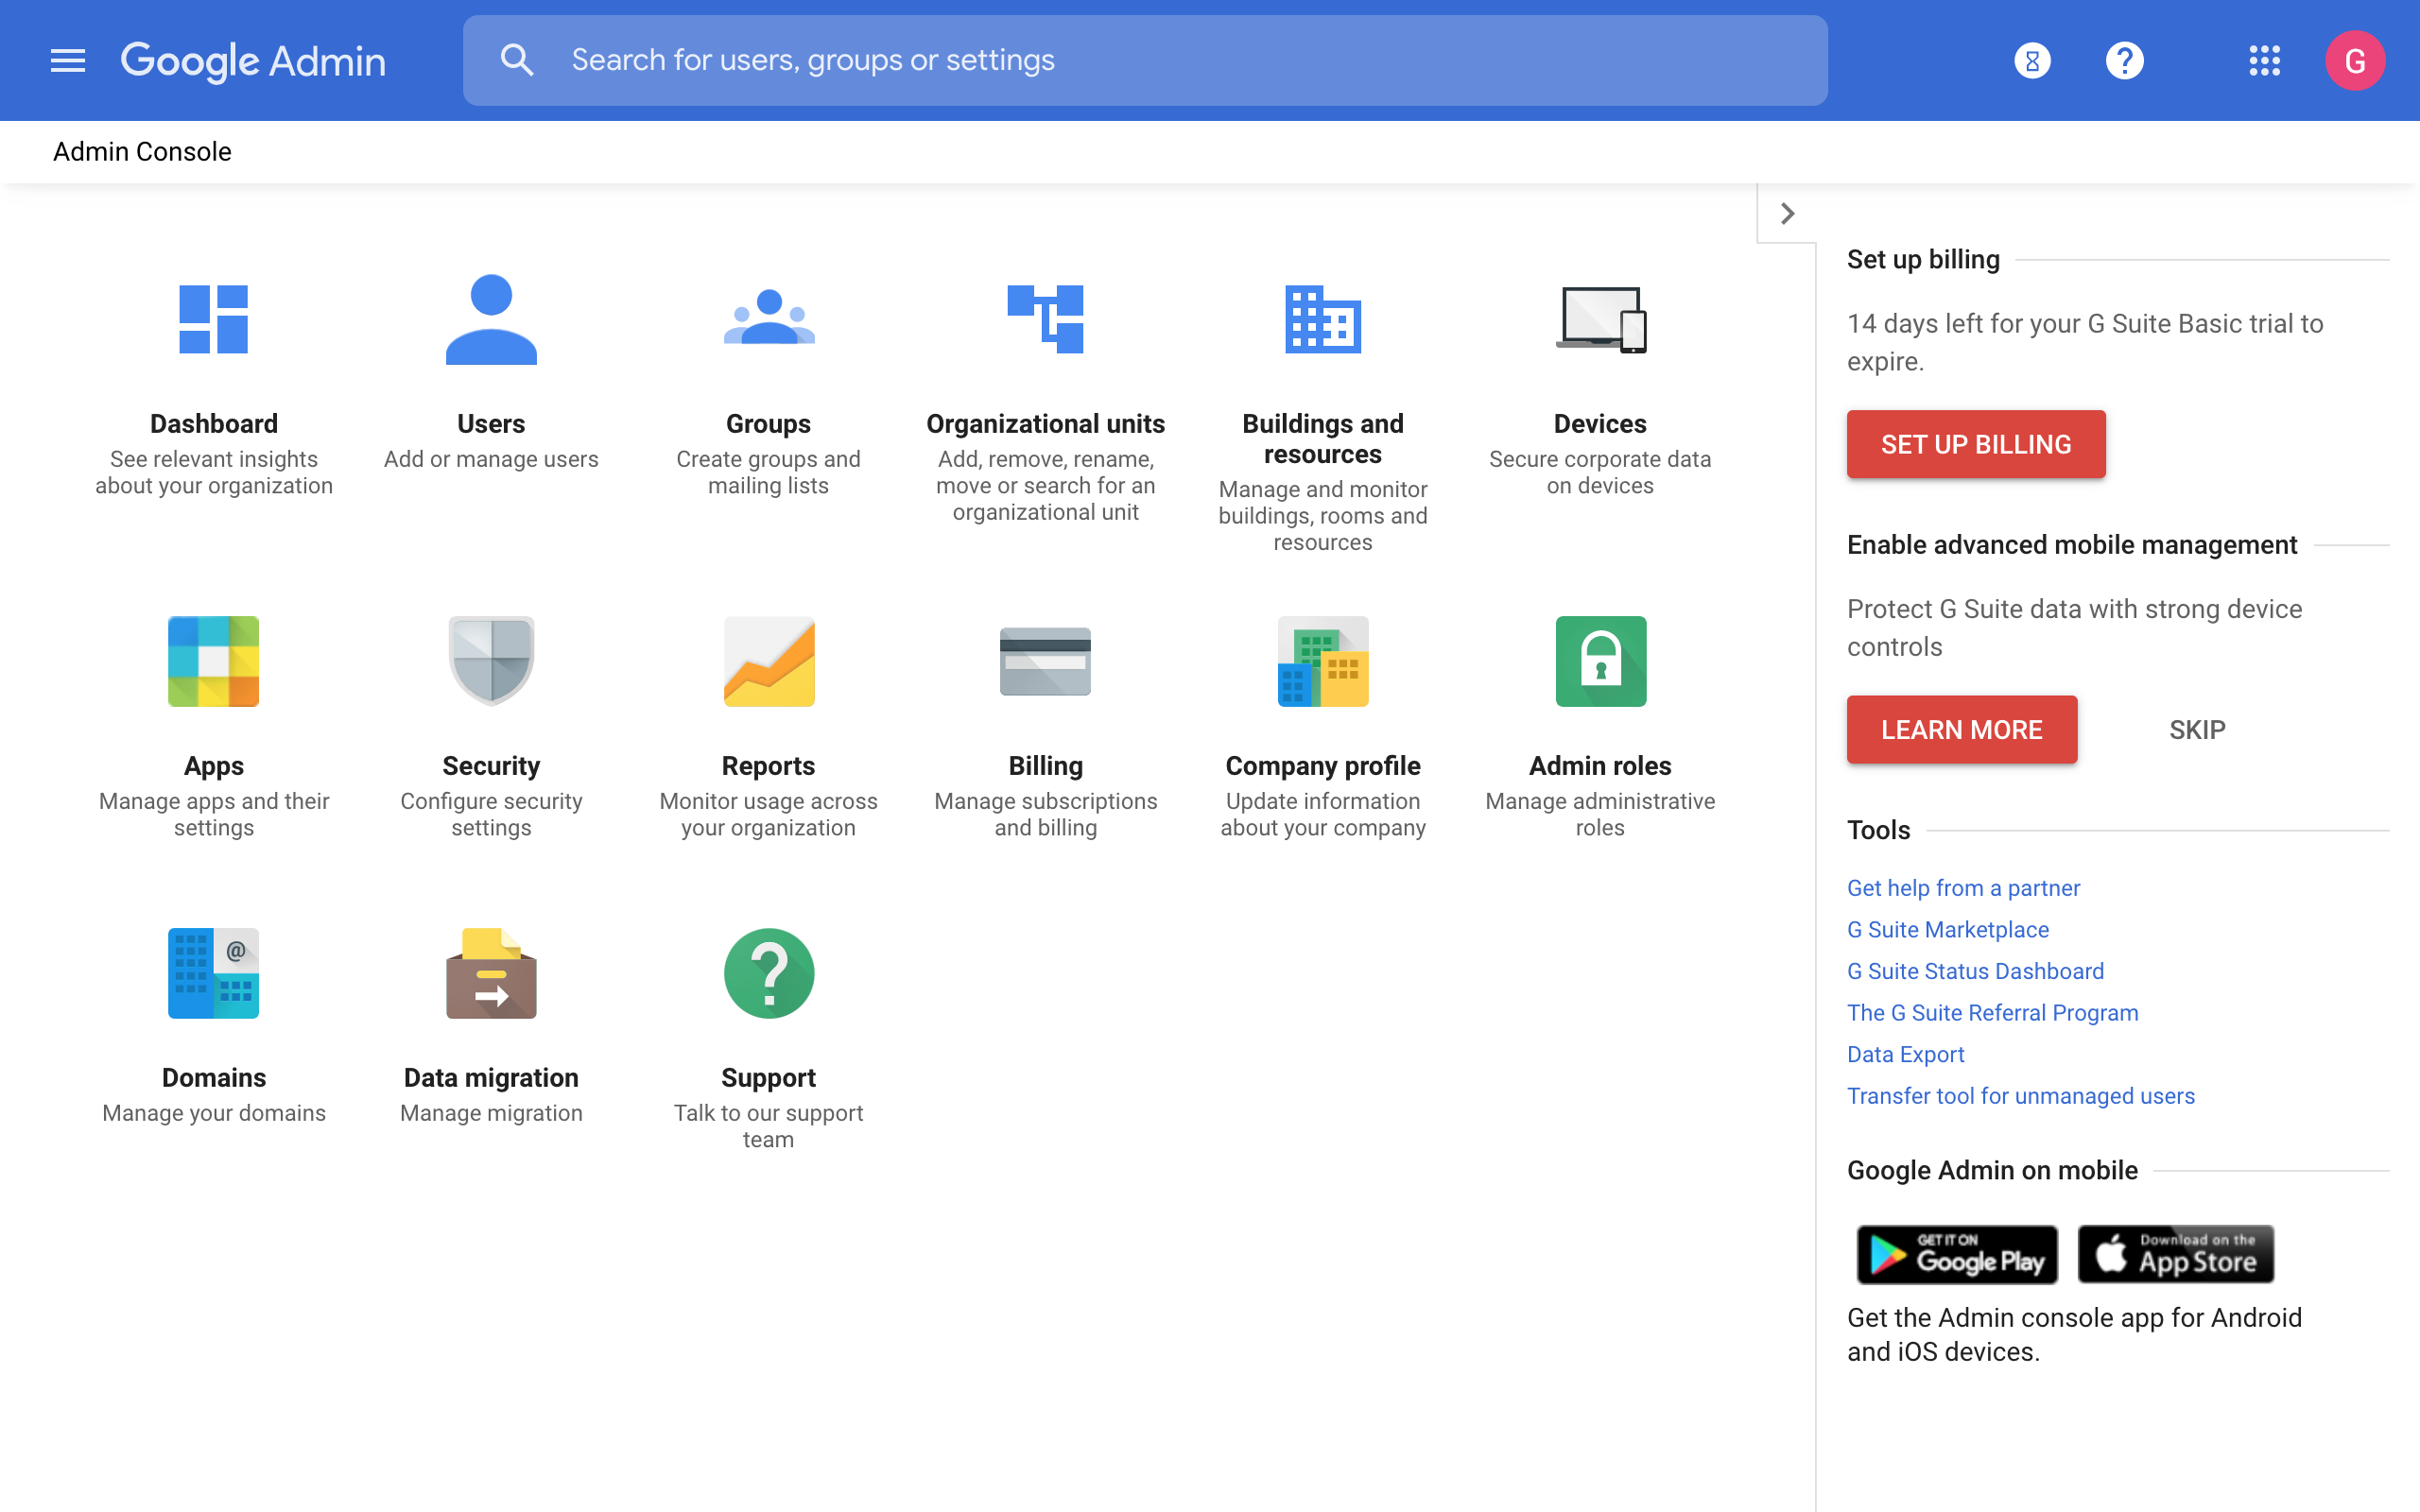
2. Click on Apps to go to App Settings:
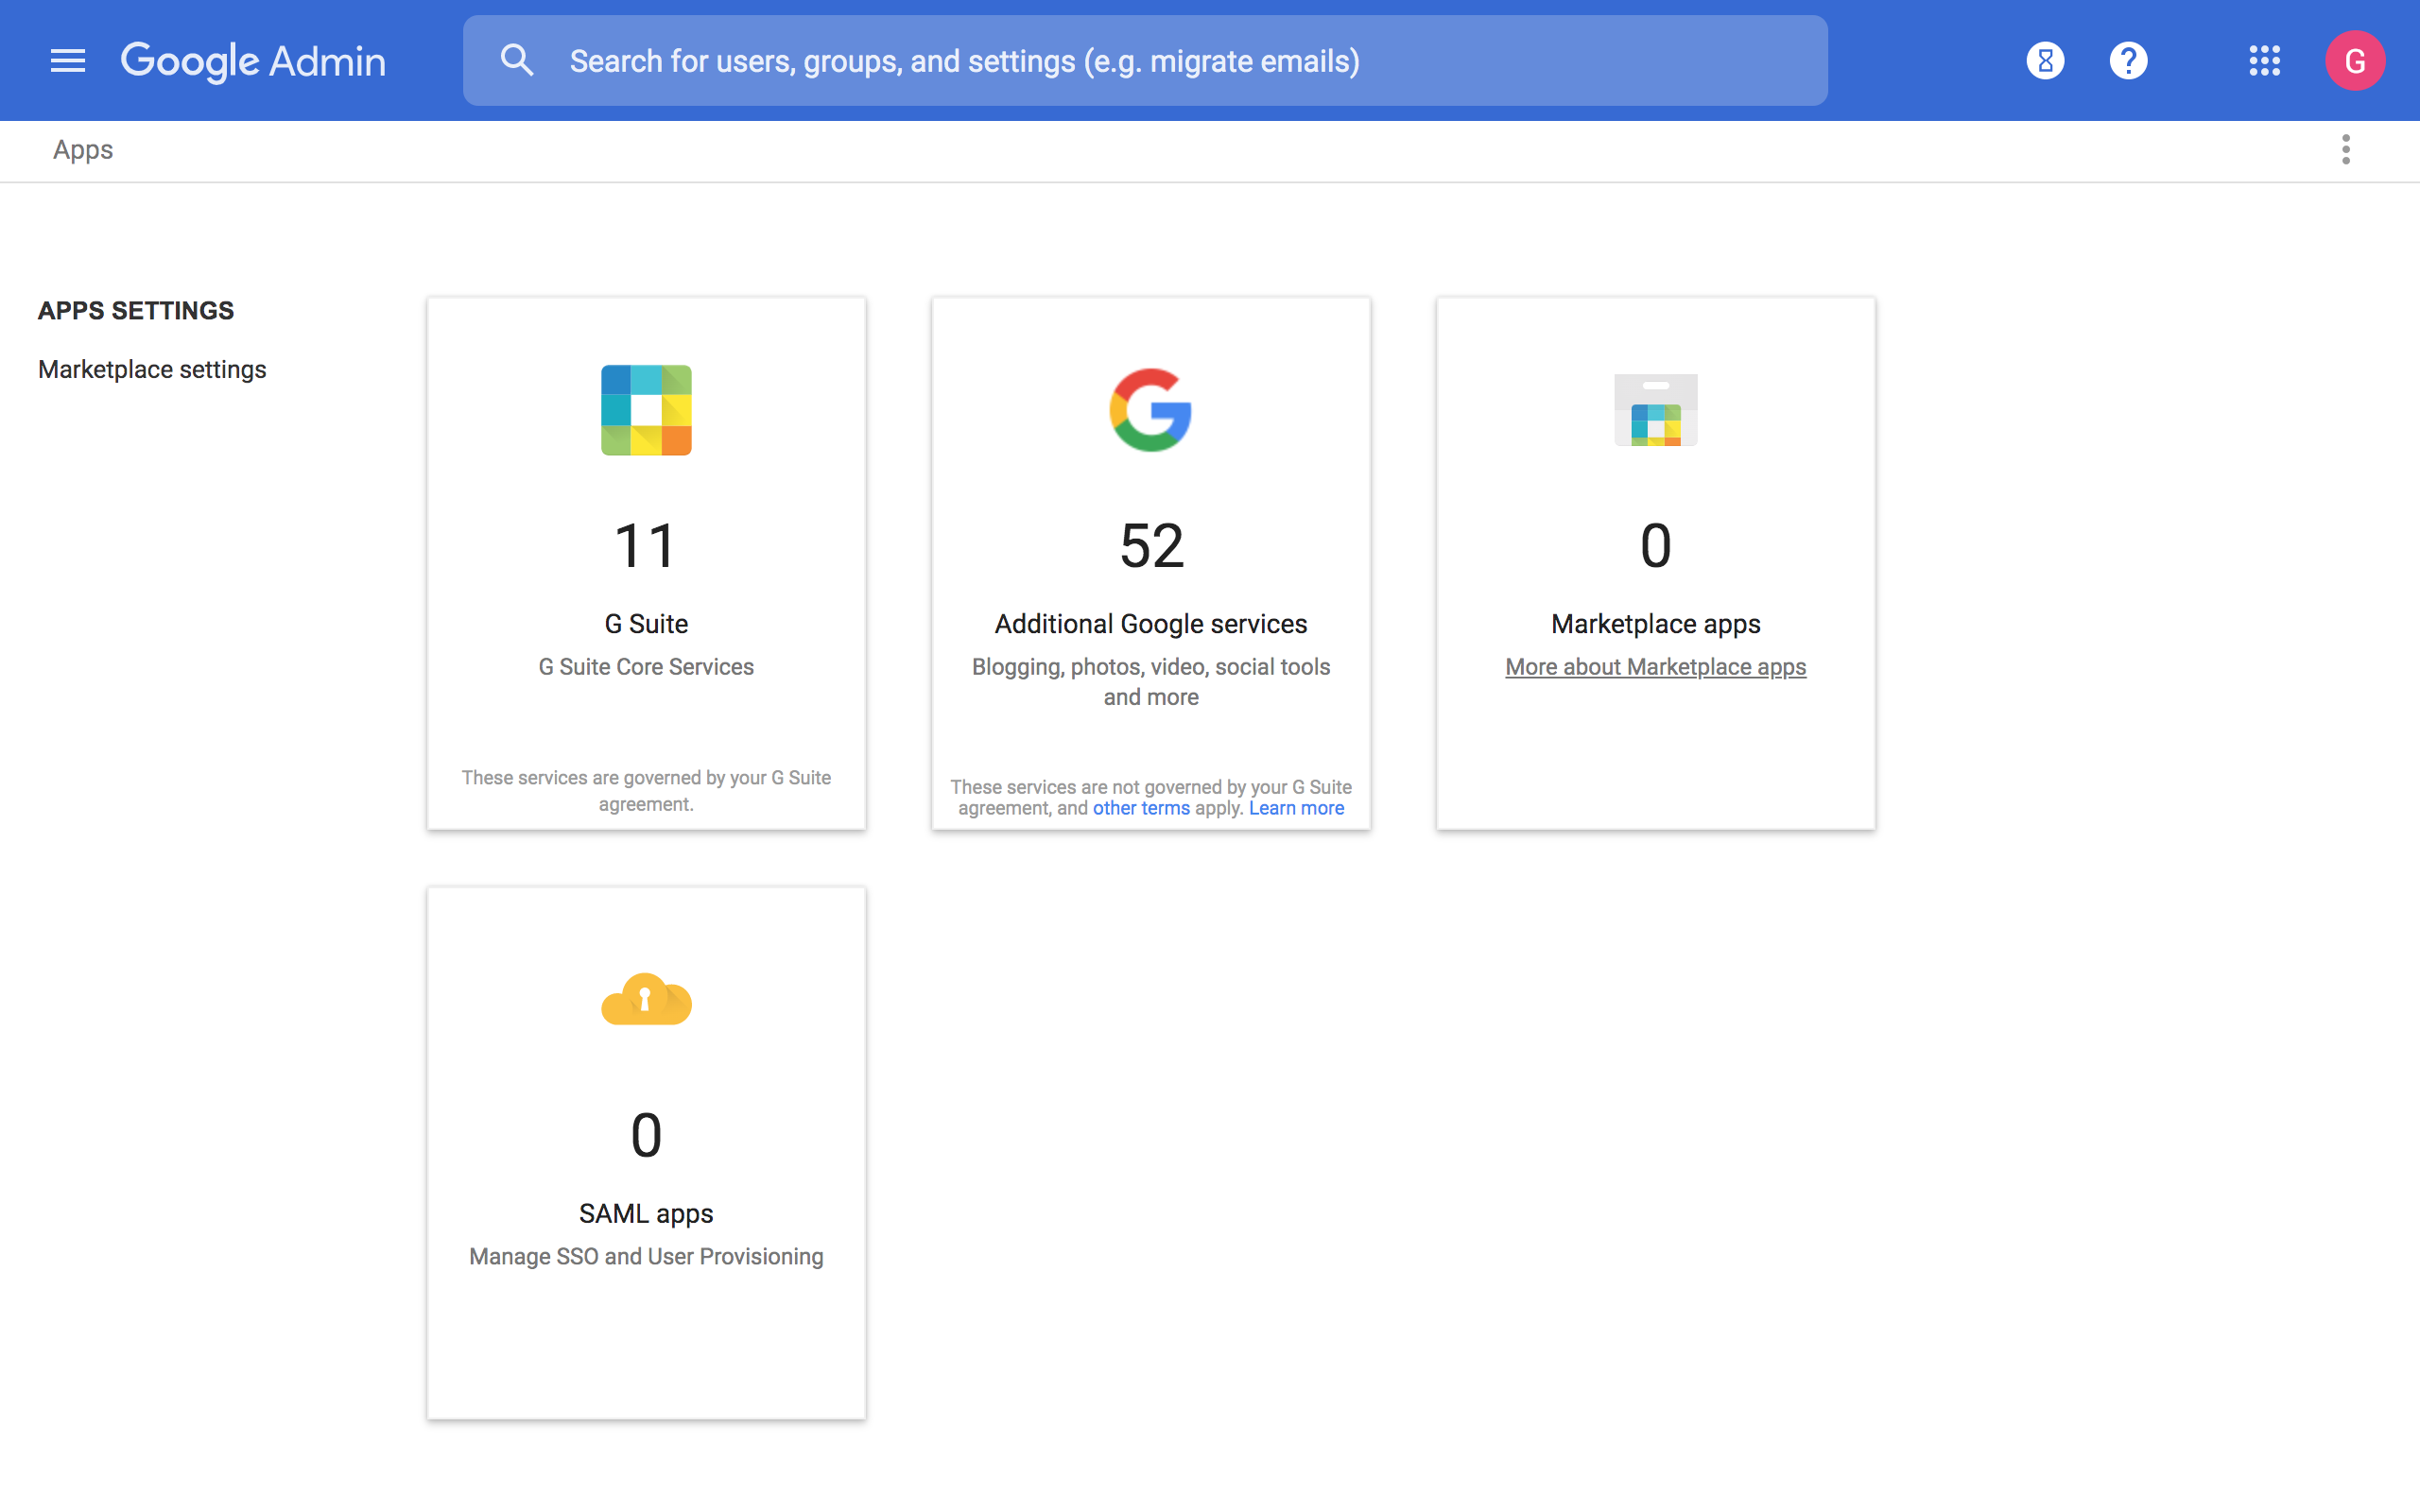
3. Go to Google Workspace Core Services:
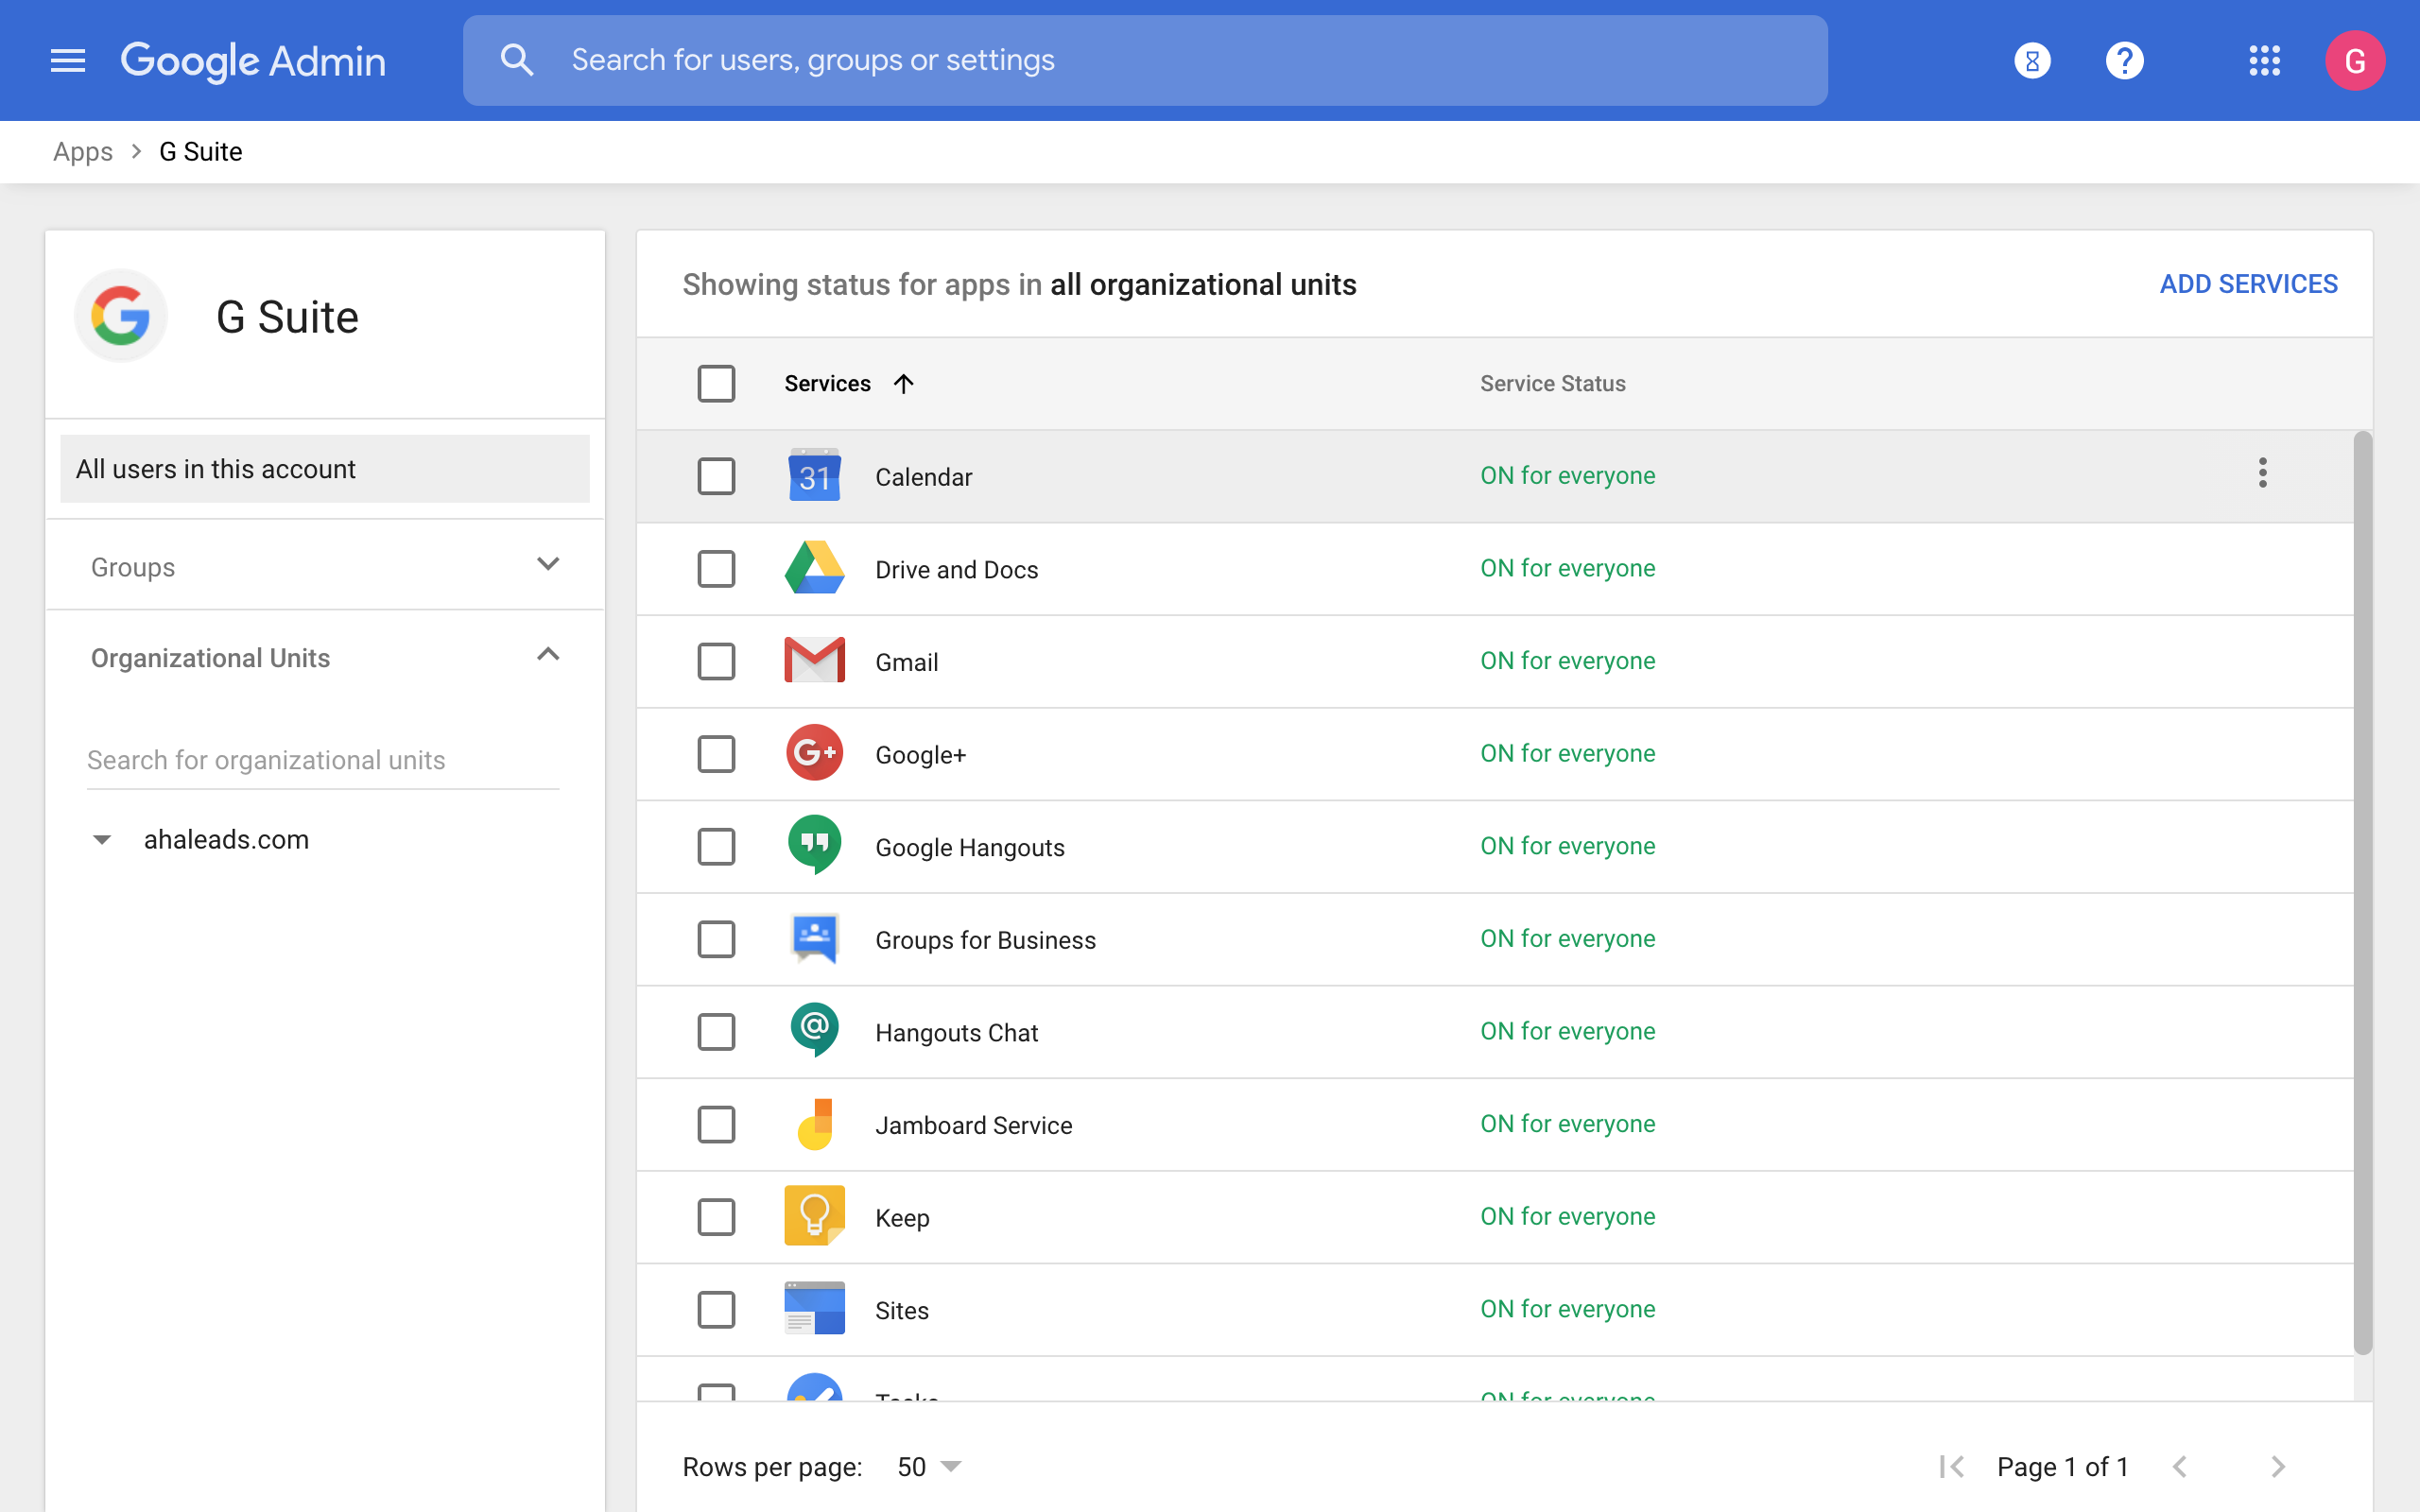
4. Click on Gmail:
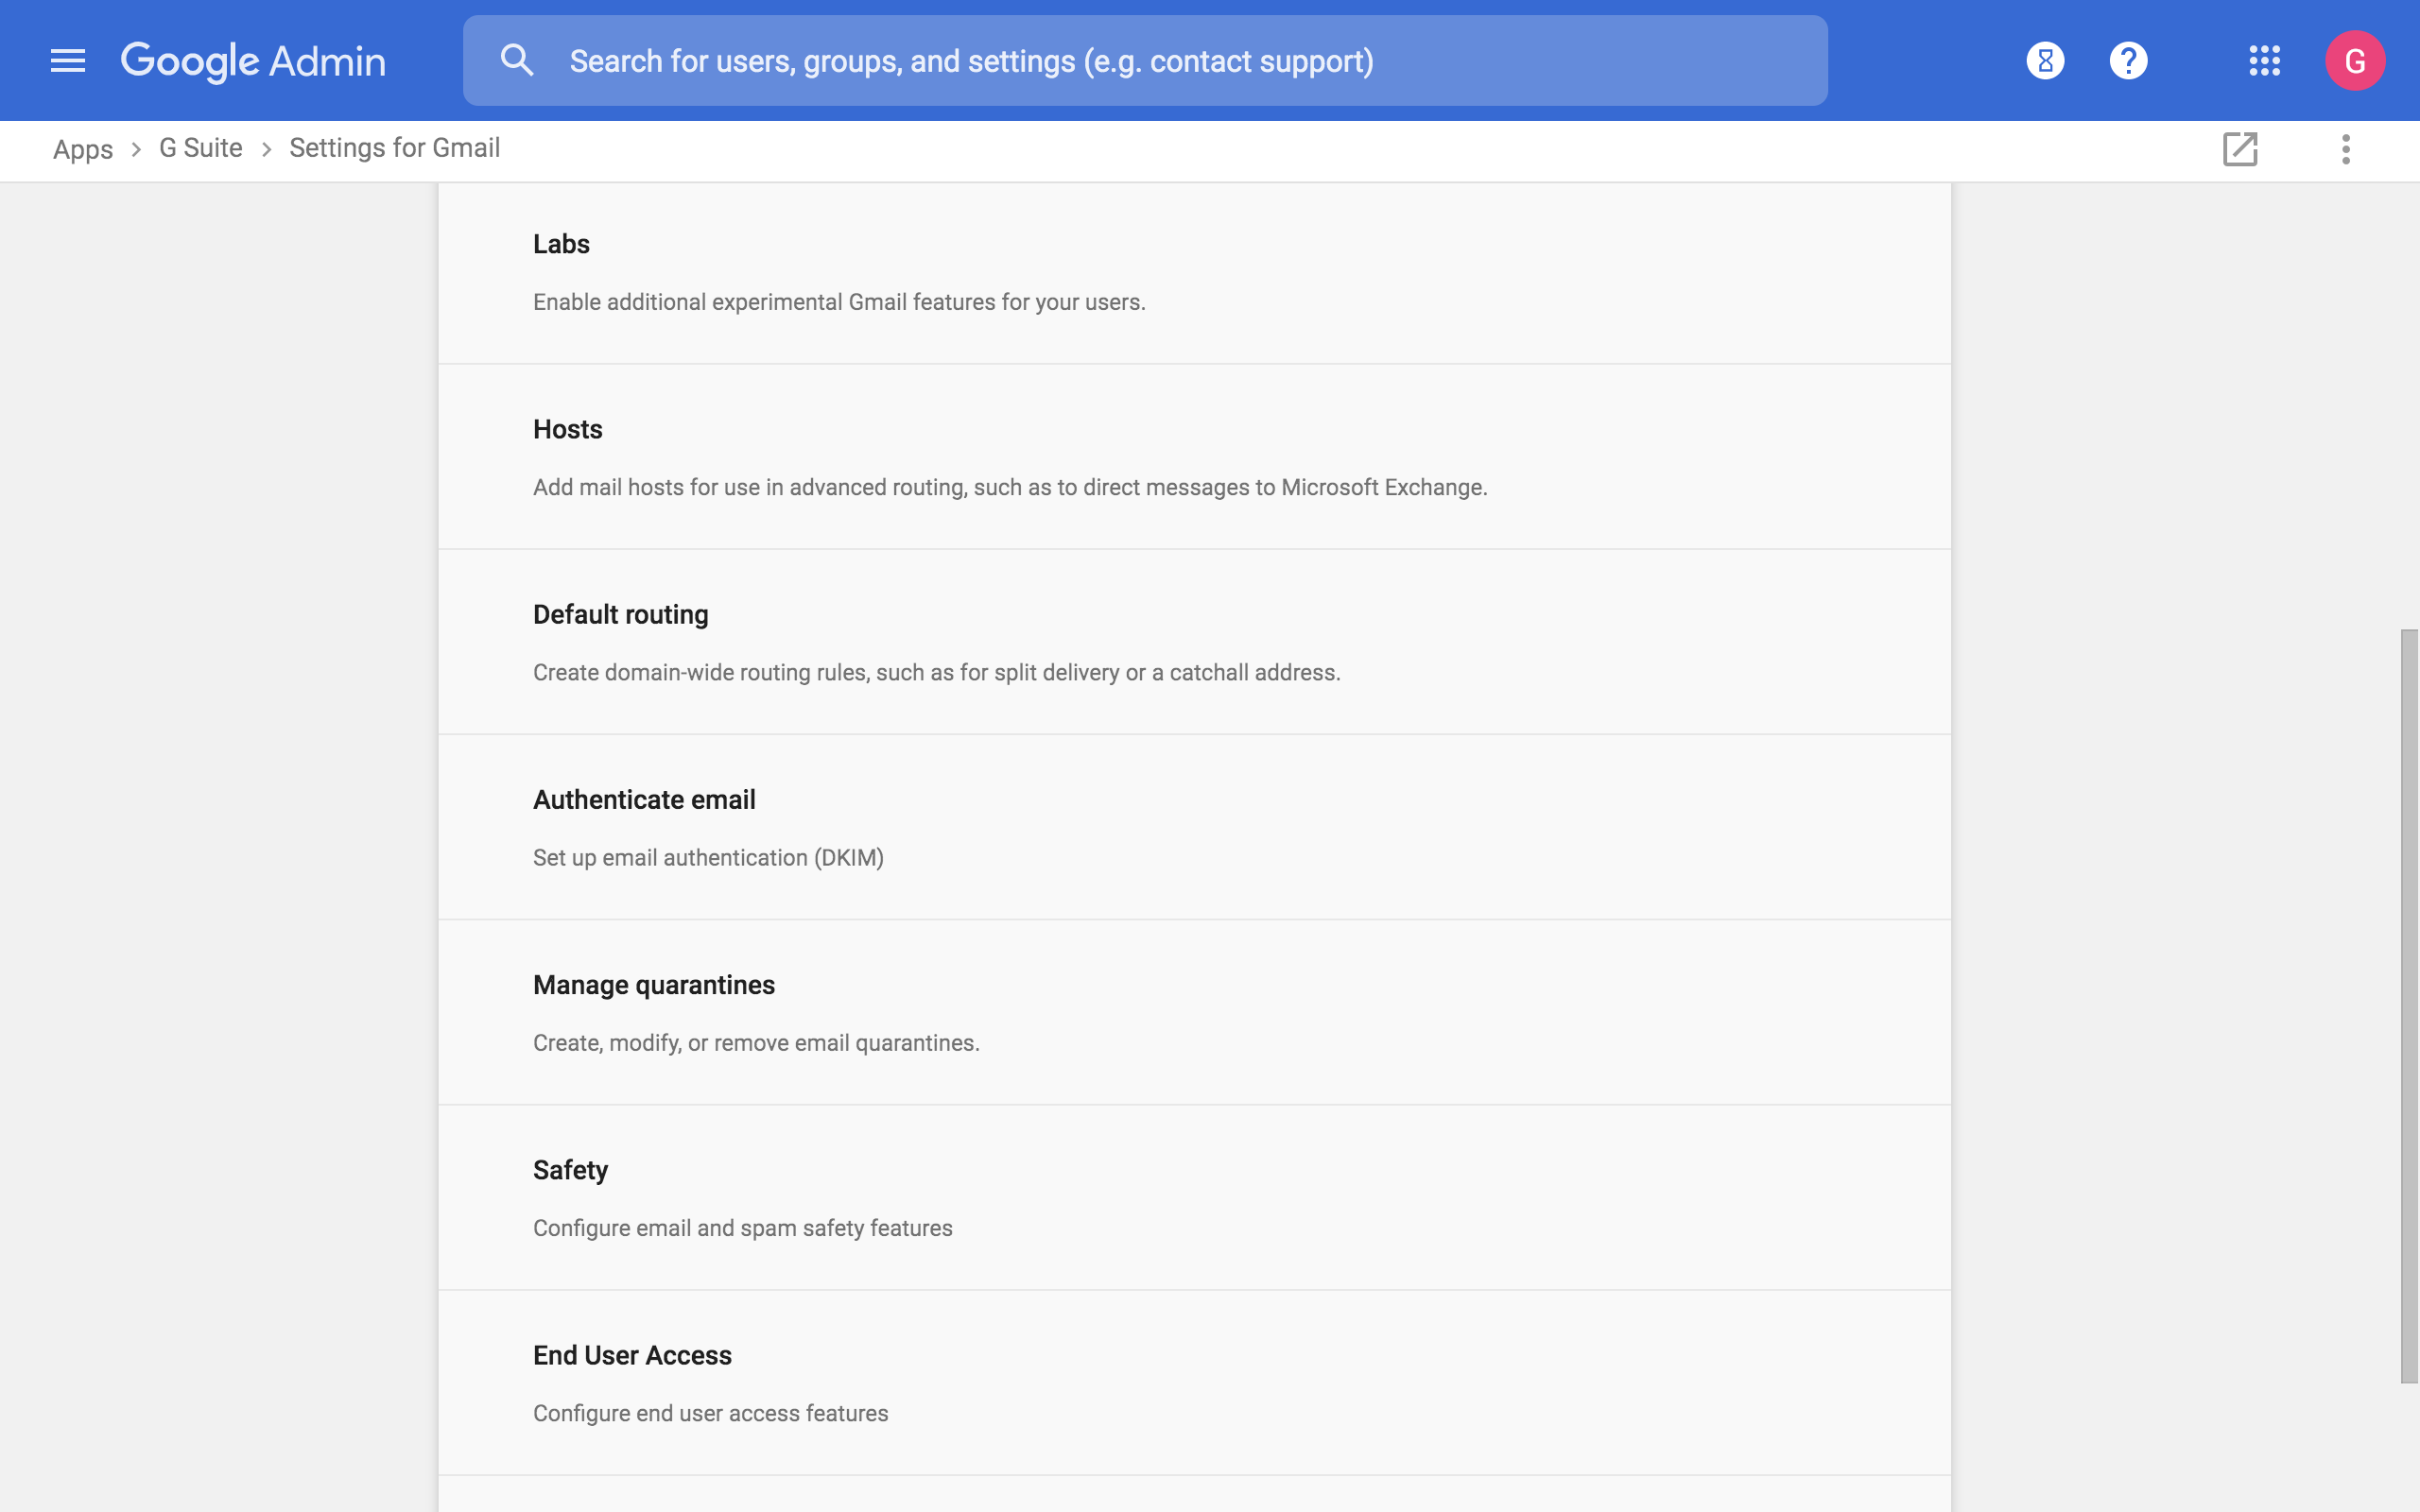
5. Click on Authenticate email:
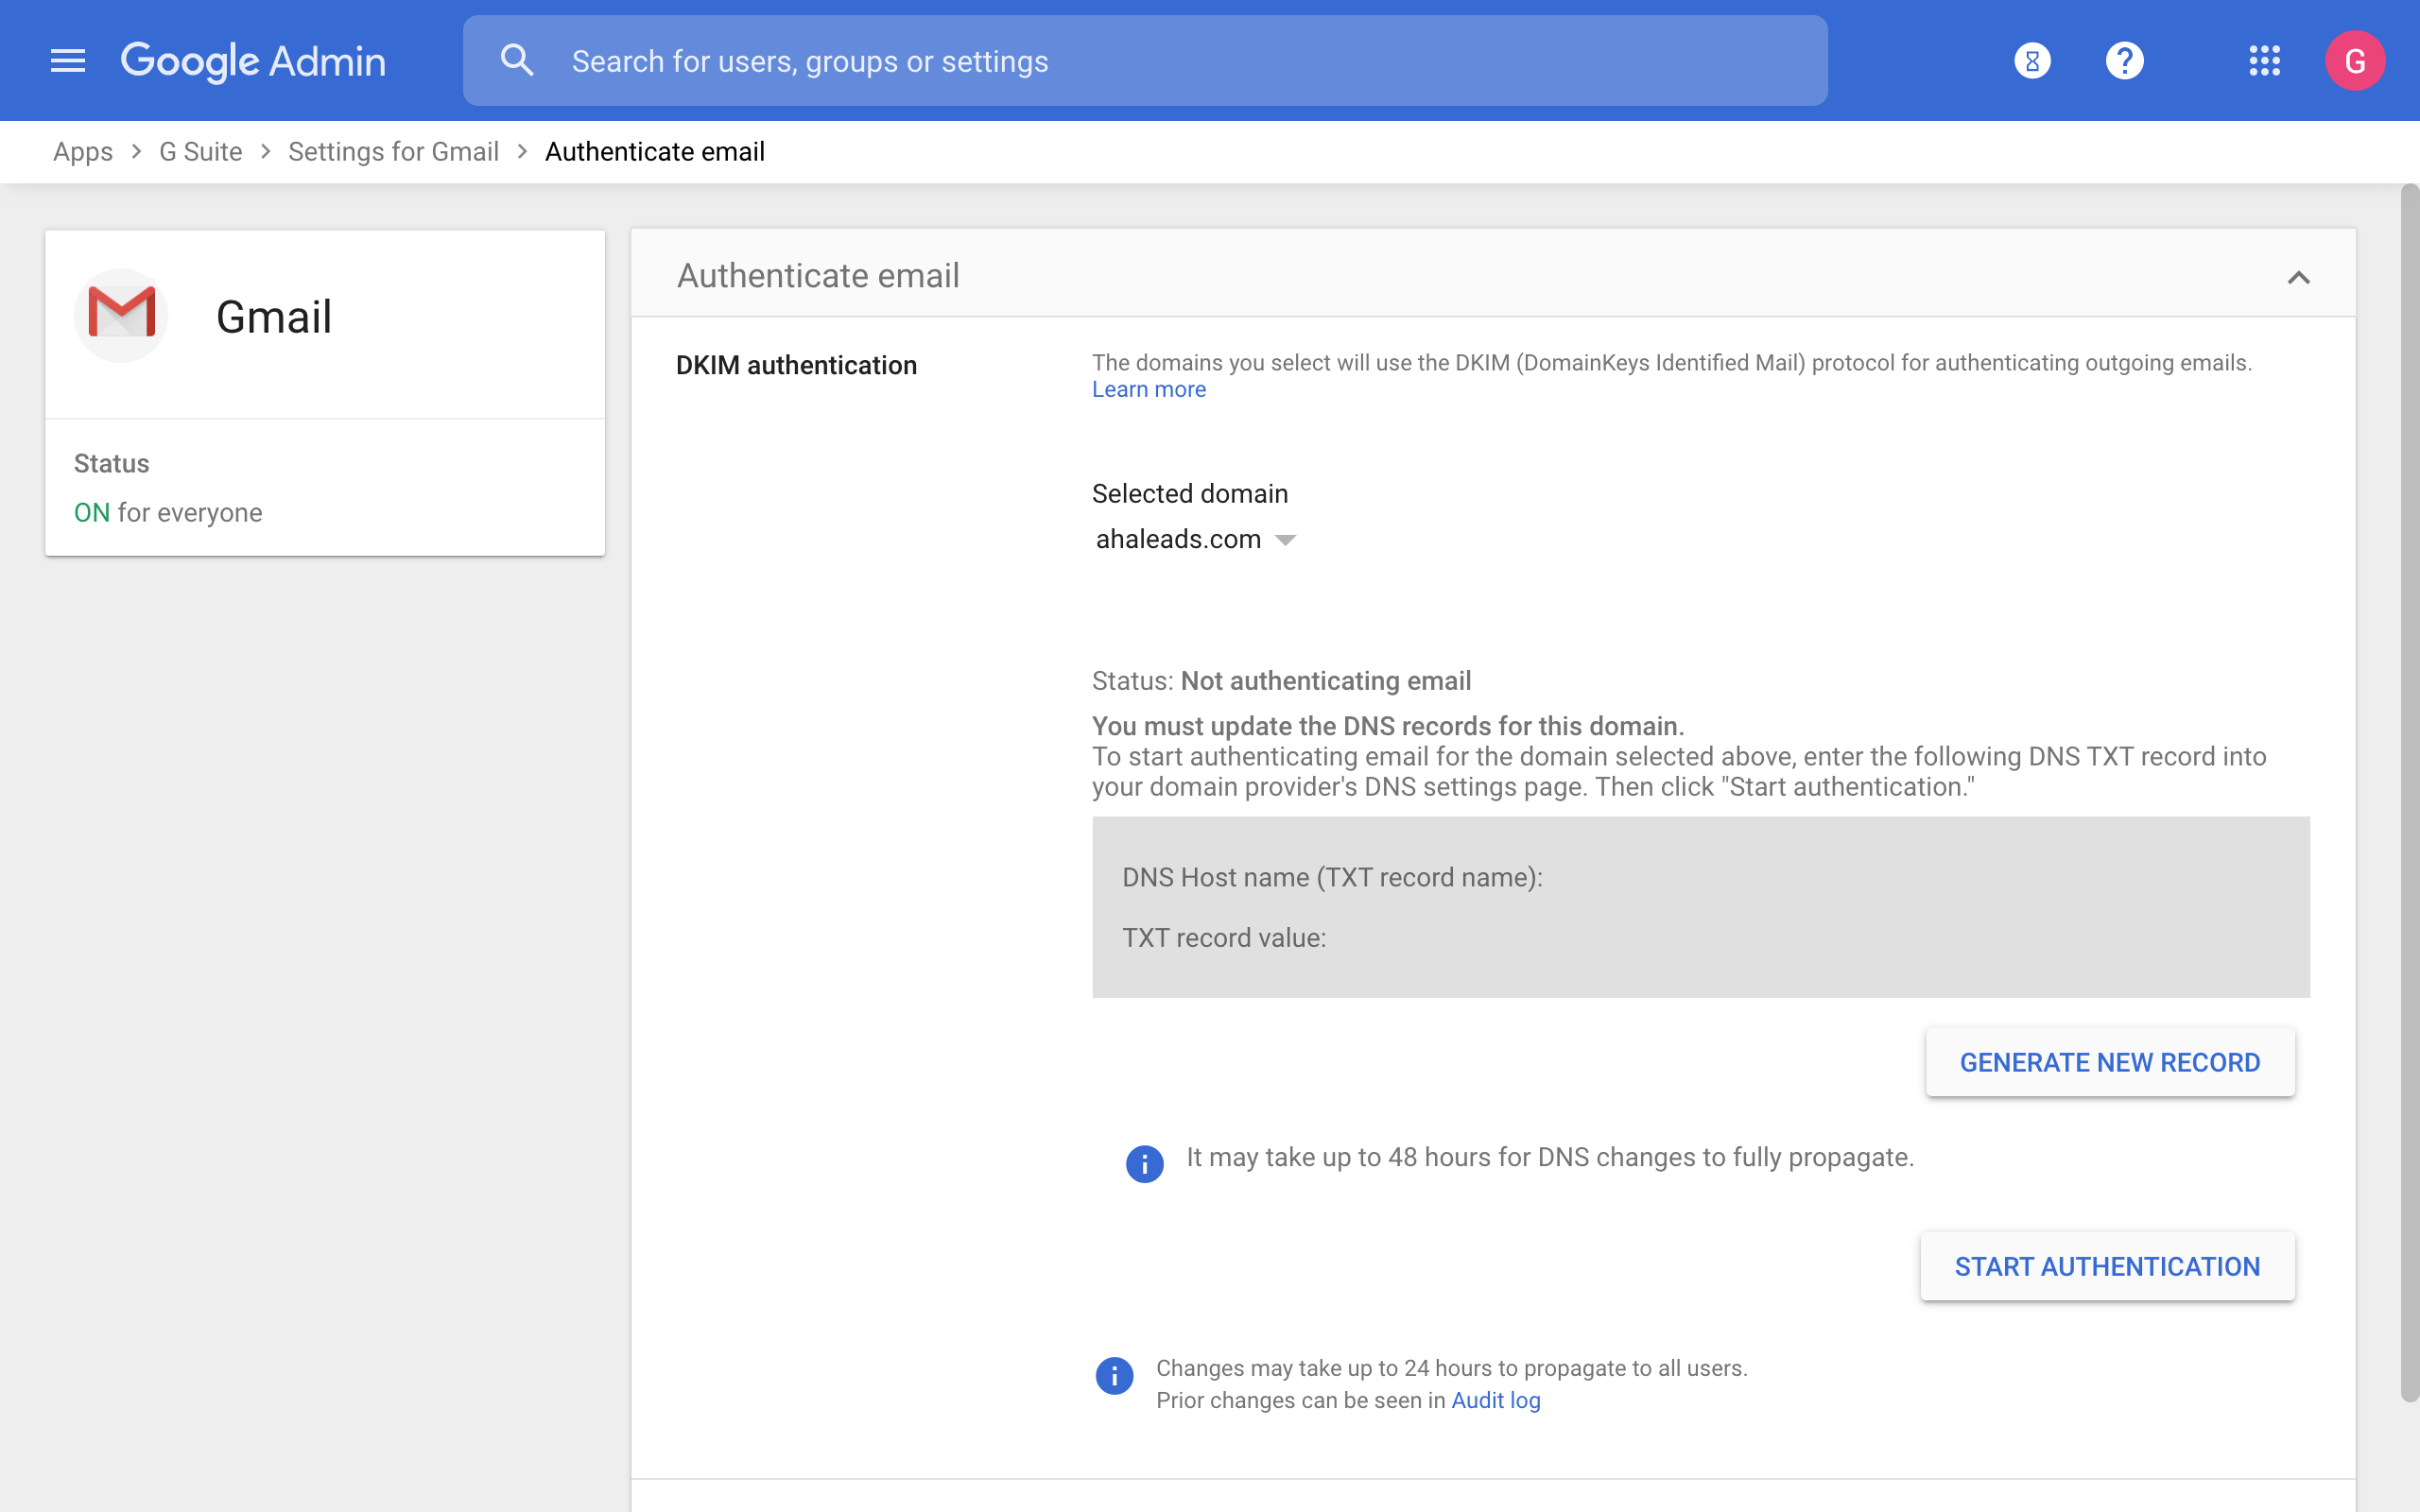
- Click on the GENERATE NEW RECORD button to generate a new DKIM record;
- Publish the DKIM record in the DNS; DNS propagation might take up to 1 hour before the record becomes accessible;
- Once the record is accessible, click on the START AUTHENTICATION button;
- Click SAVE to complete the authentication process.
Once you have completed the DNS Record setup please let us know in order to have the record confirmed and finalized.
* Please ensure that you change <yourdomain.com> to the correct domain before publishing changes.