Microsoft Office 365 by default will not reject any emails that fail DMARC even if the sender’s DMARC policy is set to reject. Microsoft Office 365 will treat DMARC policies of quarantine and reject in the same way, meaning that if the sender’s DMARC policy is set to reject or quarantine, the emails that fail DMARC will be sent to the spam folder of the recipient.
Microsoft override DMARC failures with “action=oreject” which stands for override reject. This value can be found in the Authentication-Results header of the emails. We will use this header and text to reject emails that fail DMARC with a policy of reject.
Microsoft believe that doing this will prevent many legitimate emails from being lost and that is fair enough. However, we have found that most if not all of our customers would actually like to conform to the sender’s DMARC policy and reject emails that fail DMARC.
After some testing we have discovered that the above can be achieved by using a mail flow rule.
To demonstrate how this can be achieved we will use the following.
Sending domain to be spoofed: sendmarc.com (protected by DMARC ie. p=reject)
Recipient domain: domain.com
Spoofer: Sendgrid
Email Header to be used: Authentication-Results
Value to look for in the header: oreject
Now, let’s begin!
Creating the mail flow rule
We will now create the rule, wait at least 30 minutes and send a spoof email again.
To create the rule:
Go to: https://outlook.office365.com/ecp/
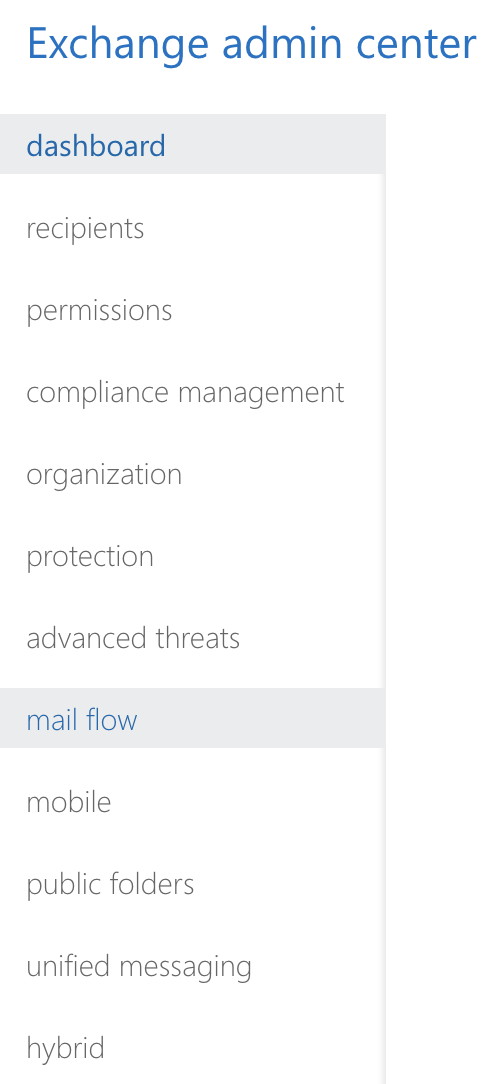
Click on mail flow on the left hand side
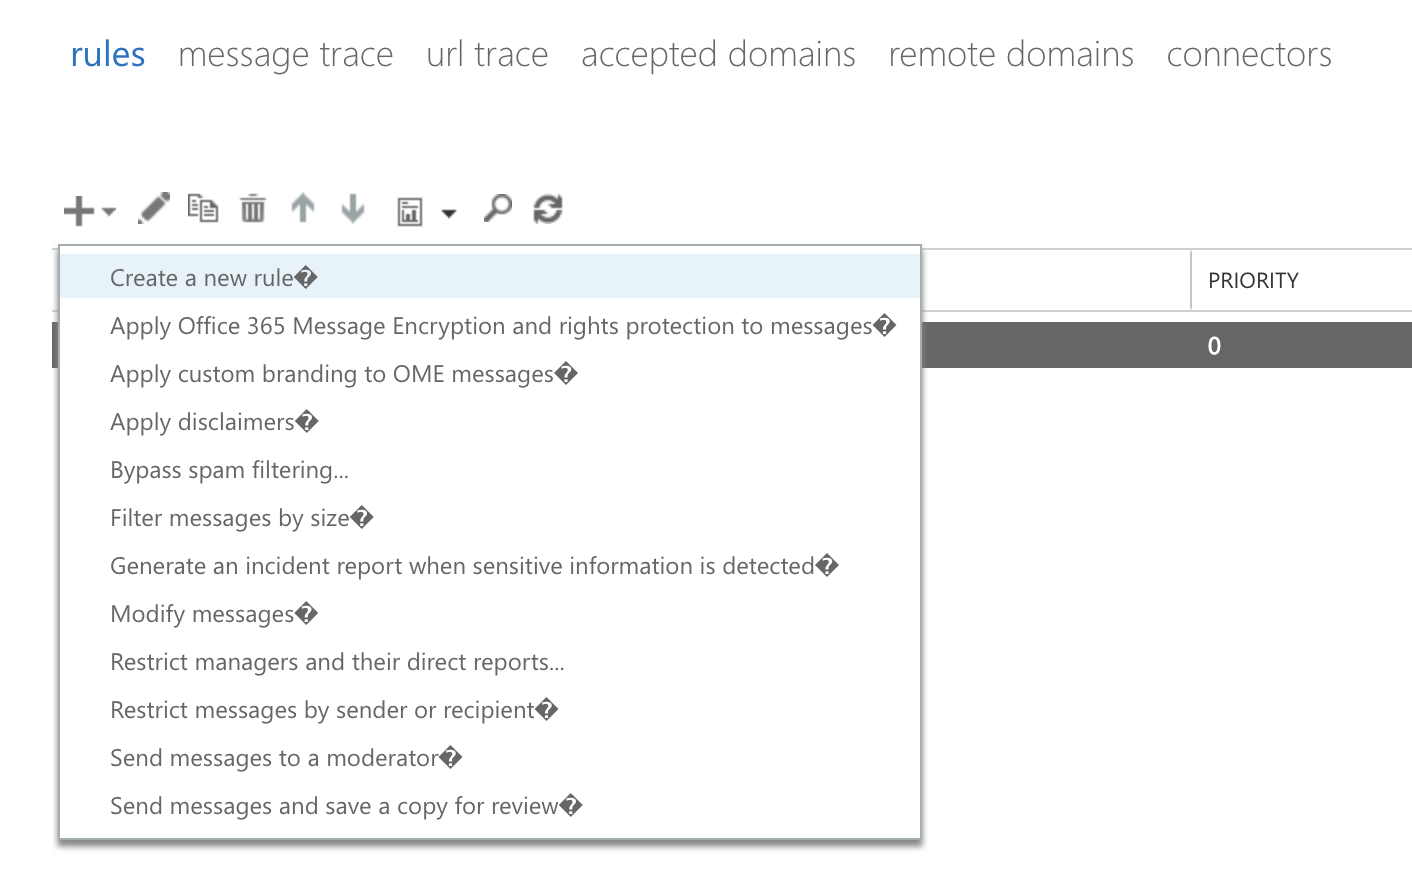
Click on the + and select “Create a new rule”
Click on "More options" at the bottom of the screen.

Give your rule a name.
Then in the box that says Apply this rule if… From the dropdown menu choose “A message header includes any of these words”.
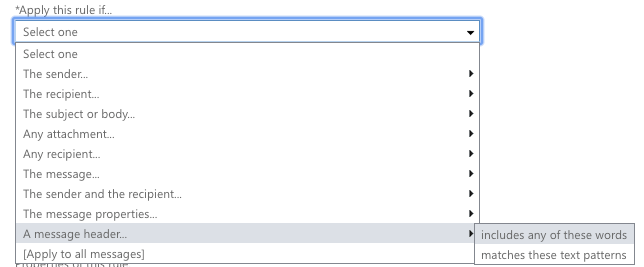
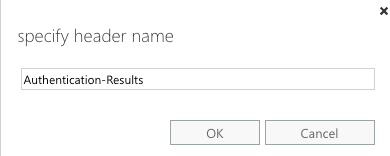
Click on “Enter text” as shown below

Type in “Authentication-Results” exactly as shown below and press OK.
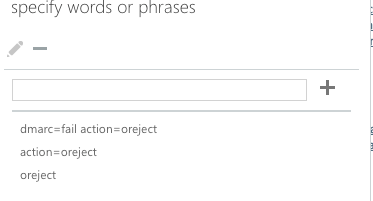
Click on “Enter words” as indicated below.

Enter the following three phrases individually and press OK.
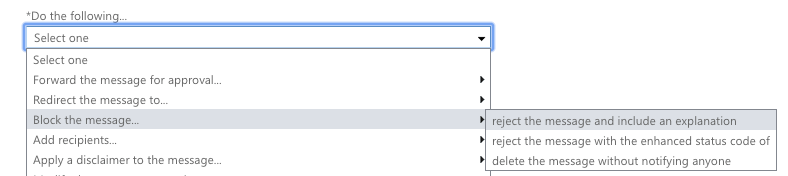
Then in the “Do the following…” box choose “Block the message…” and then choose any of the 3 options. In our test we chose “reject the message and include an explanation”.
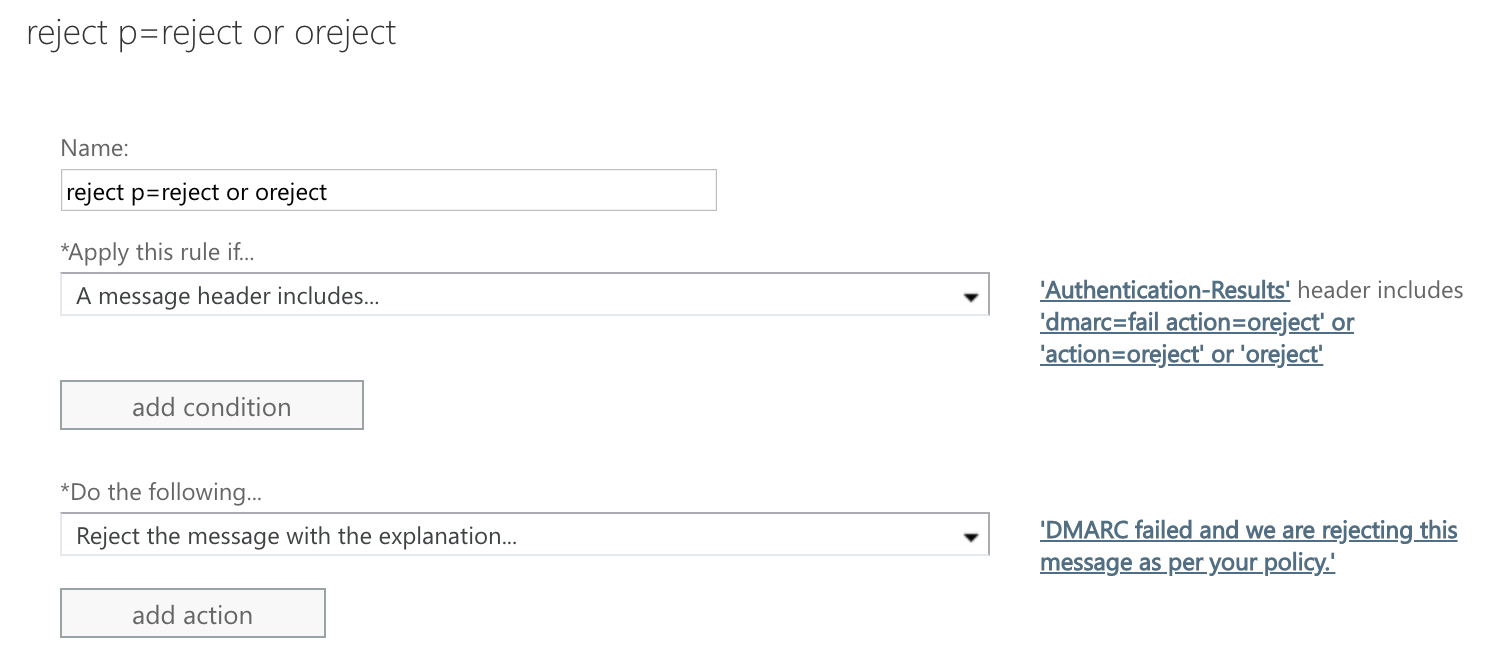
At the end you will end up with a rule that looks the same or similar to the below screen.
Save your rule and allow up to 30 minutes for it to take effect. For more information on Exchange Online Mail flow rules please click on the button below.