| Postmark helps deliver and track transactional emails for web applications. In a nutshell, the service replaces SMTP (or Sendmail) with a far more reliable, scalable and care-free environment. |  |
To enable Postmark to send authenticated mail from your domain your SPF and DKIM settings must be enabled.
| Table of Contents |
1. Postmark SPF Setup
Rather than utilizing an SPF record, Postmark requires a custom return path be setup. To do this, a CNAME record must be published that points to postmark.
How to set a custom Return-Path in Postmark?
- Add a CNAME record to your DNS that points to pm.mtasv.net.
- While logged into Postmark, choose Signatures.
- Select the DNS Settings link on the domain you want to add the custom Return-Path domain on.
- Navigate to the heading Set up a custom Return-Path and enter in your alias you used in your CNAME record you added to your DNS.
2. Postmark DKIM Setup
Postmark will always provide you with a custom DKIM signature.
2.1 Generate DKIM Key
In your Postmark interface, follow the following steps:
- Navigate to your Sender Signatures tab.
- Under the domain you are adding DKIM authentication for, click DNS Settings or Add a DKIM DNS record.
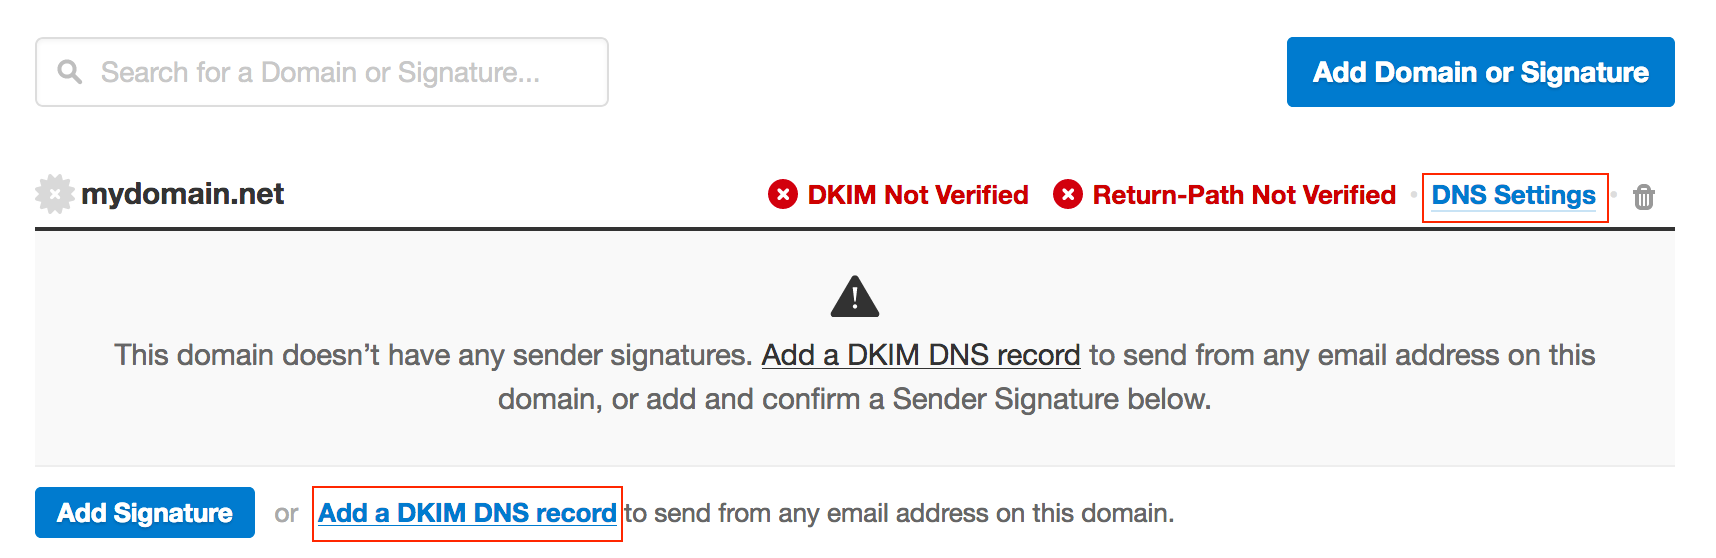
-
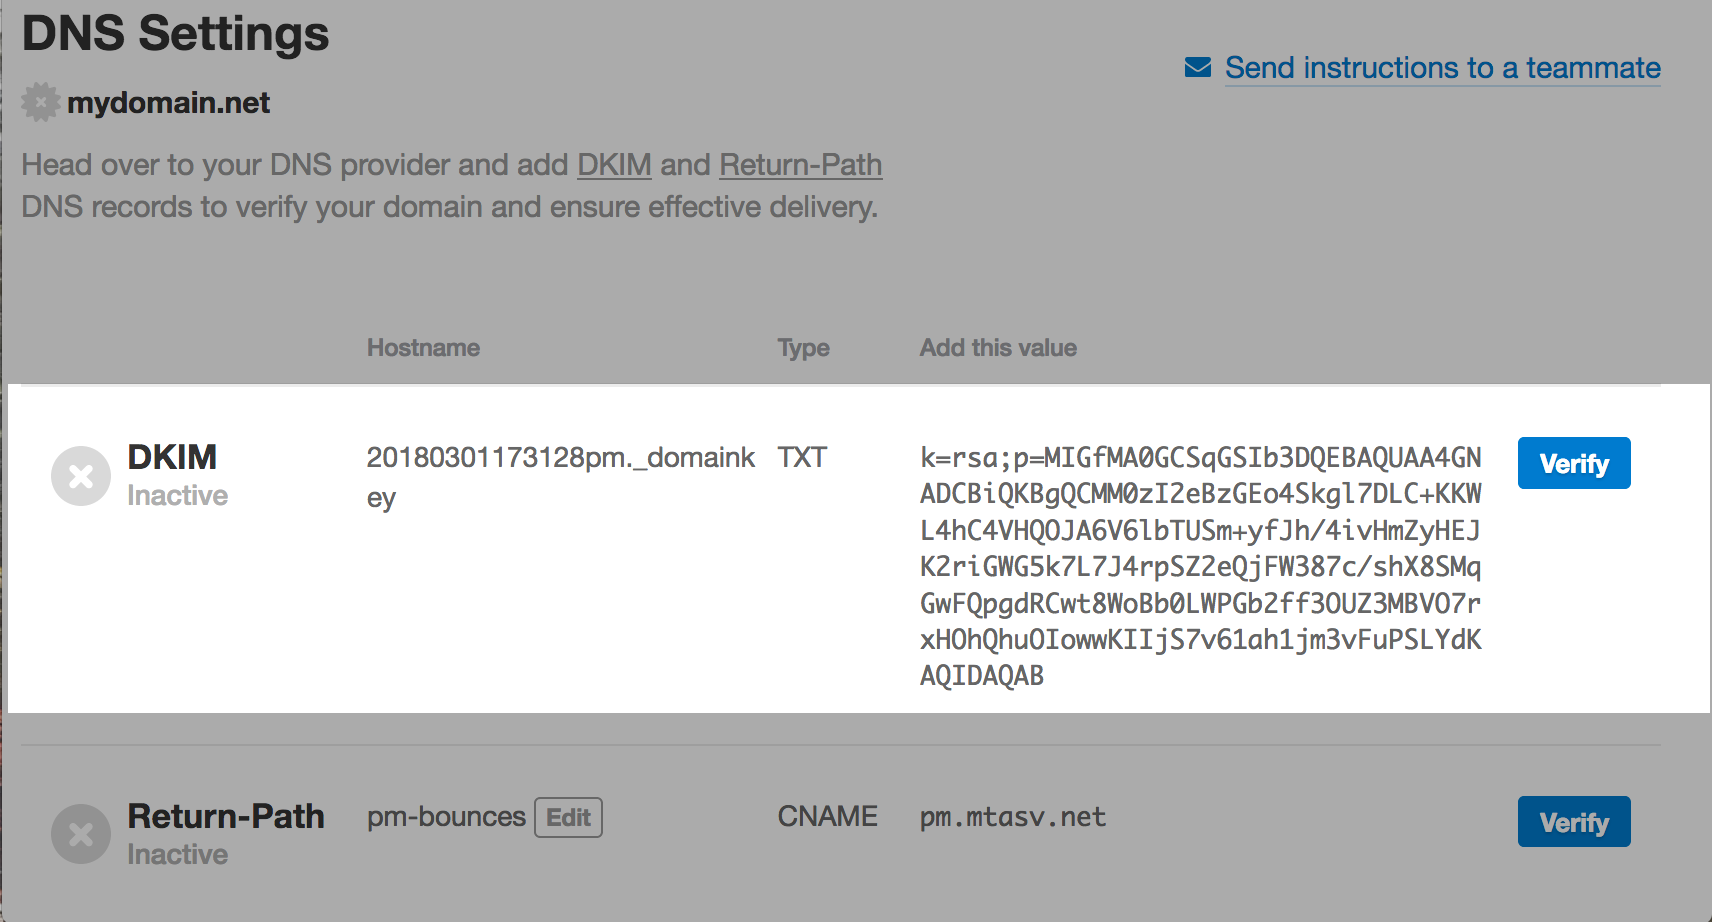
A DKIM record will be shown that needs to be added to your DNS as a TXT record.
2.2 Publish DKIM Key
1. Once the key is generated, you will need to load the key into the Sendmarc DKIM manager as a TXT record
This will resemble the below:
| Type | Host | TXT Value | TTL |
| TXT | 20180301173128pm._domainkey | Paste the key generated here | 1 hour (Default) |
2.3 Enable DKIM Signing
1. Once the key is published, head back to Postmark and select Verify.