|
Campaign Monitor is an online email marketing application that enables designers to create, send, manage and track branded emails for themselves and their clients with ease. |

|
| Table of Contents |
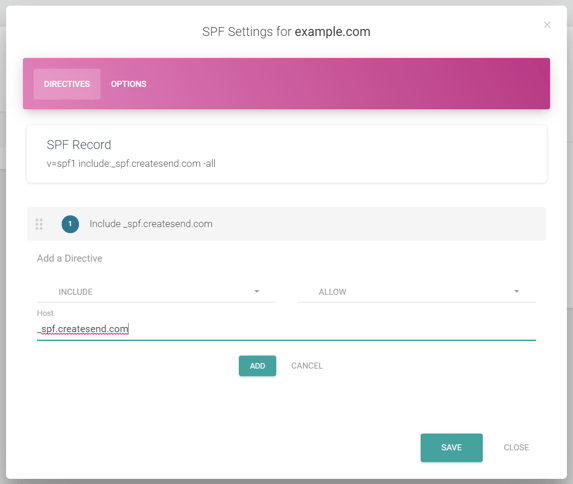
1. Campaign Monitor SPF Setup
Please note that the following SPF changes should only be applied to the Sendmarc record within Sendmarc and not the hosting provider.
| Include String | include:_spf.createsend.com |
2. Campaign Monitor DKIM Setup
Campaign Monitor will always provide you with a custom DKIM signature.
2.1 Generate DKIM Key
1. In Campaign Monitor, click your profile image at the top right, then click "Account Settings".
2. Click "Sending Domains".
3. Click "Add Domain"
4. In the "Domain" field, enter a fully qualified domain name, for example, mail.example.com. Authenticating a second-level domain (for example, example.com) will not authenticate its subdomains.
Please note: You can only authenticate domains that you or your organization own. We check to see if you are trying to authenticate an unregistered domain or generic email domain (e.g. gmail.com, hotmail.com, aol.com, etc.). You will see a warning and will be unable to authenticate your domain if you attempt to add a generic or unregistered domain.
5. Take note of the generated TXT file.
2.2 Publish DKIM Key
1. Once the key is generated, you will need to load the key into the Sendmarc DKIM manager or Public DNS Zone (If not managed within Sendmarc) as a TXT record
This will resemble the below:
| Type | Host | TXT Value | TTL |
| TXT | [selector]._domainkey | Paste the key generated here | 1 hour (Default) |
2.3 Enable DKIM Signing
1. Once the key is published, return to Campaign Monitor and click 'Authenticate now'. DKIM Signing will now be enabled.