Mimecast is an international company specializing in cloud-based email management.

To enable Mimecast to send authenticated mail from your domain your SPF and DKIM settings must be enabled.
| Table of Contents |
1. Mimecast SPF Setup
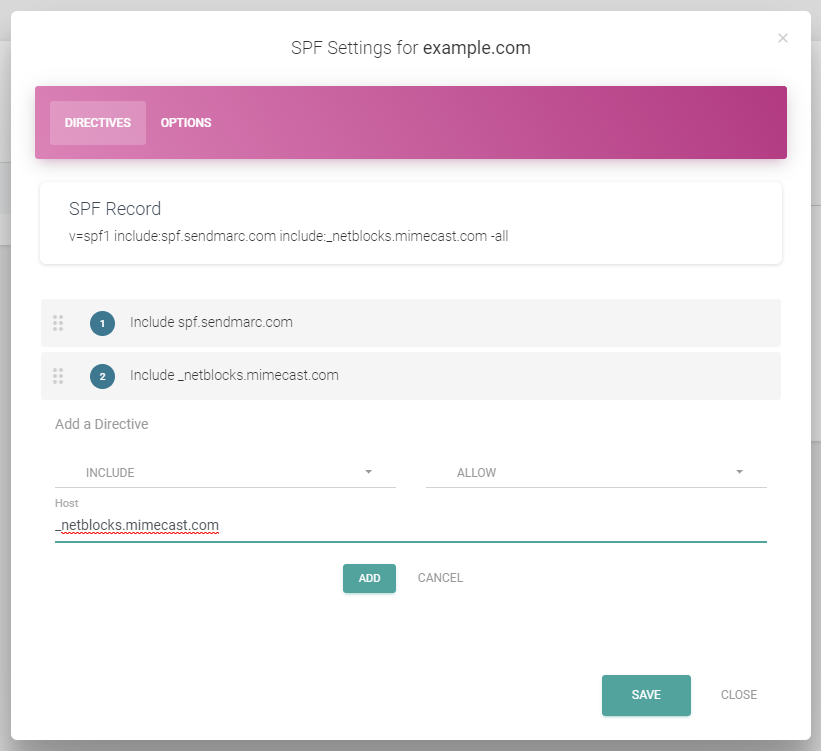
Mimecast has multiple SPF record includes for the many different regions where they have data centres housing your Mimecast instance.
Please add the relevant includes for the region of your Mimecast instance.
| Europe | eu._netblocks.mimecast.com |
| United States | us._netblocks.mimecast.com |
| South Africa | za._netblocks.mimecast.com |
| Germany | de._netblocks.mimecast.com |
| Australia | au._netblocks.mimecast.com |
Global Includes
This is not recommended as it will add the SPF includes for every Mimecast Region which adds a total of 5 lookups to your SPF record.
| Global | _netblocks.mimecast.com |
2. Mimecast DKIM Setup
Steps to get DKIM set up in Mimecast.
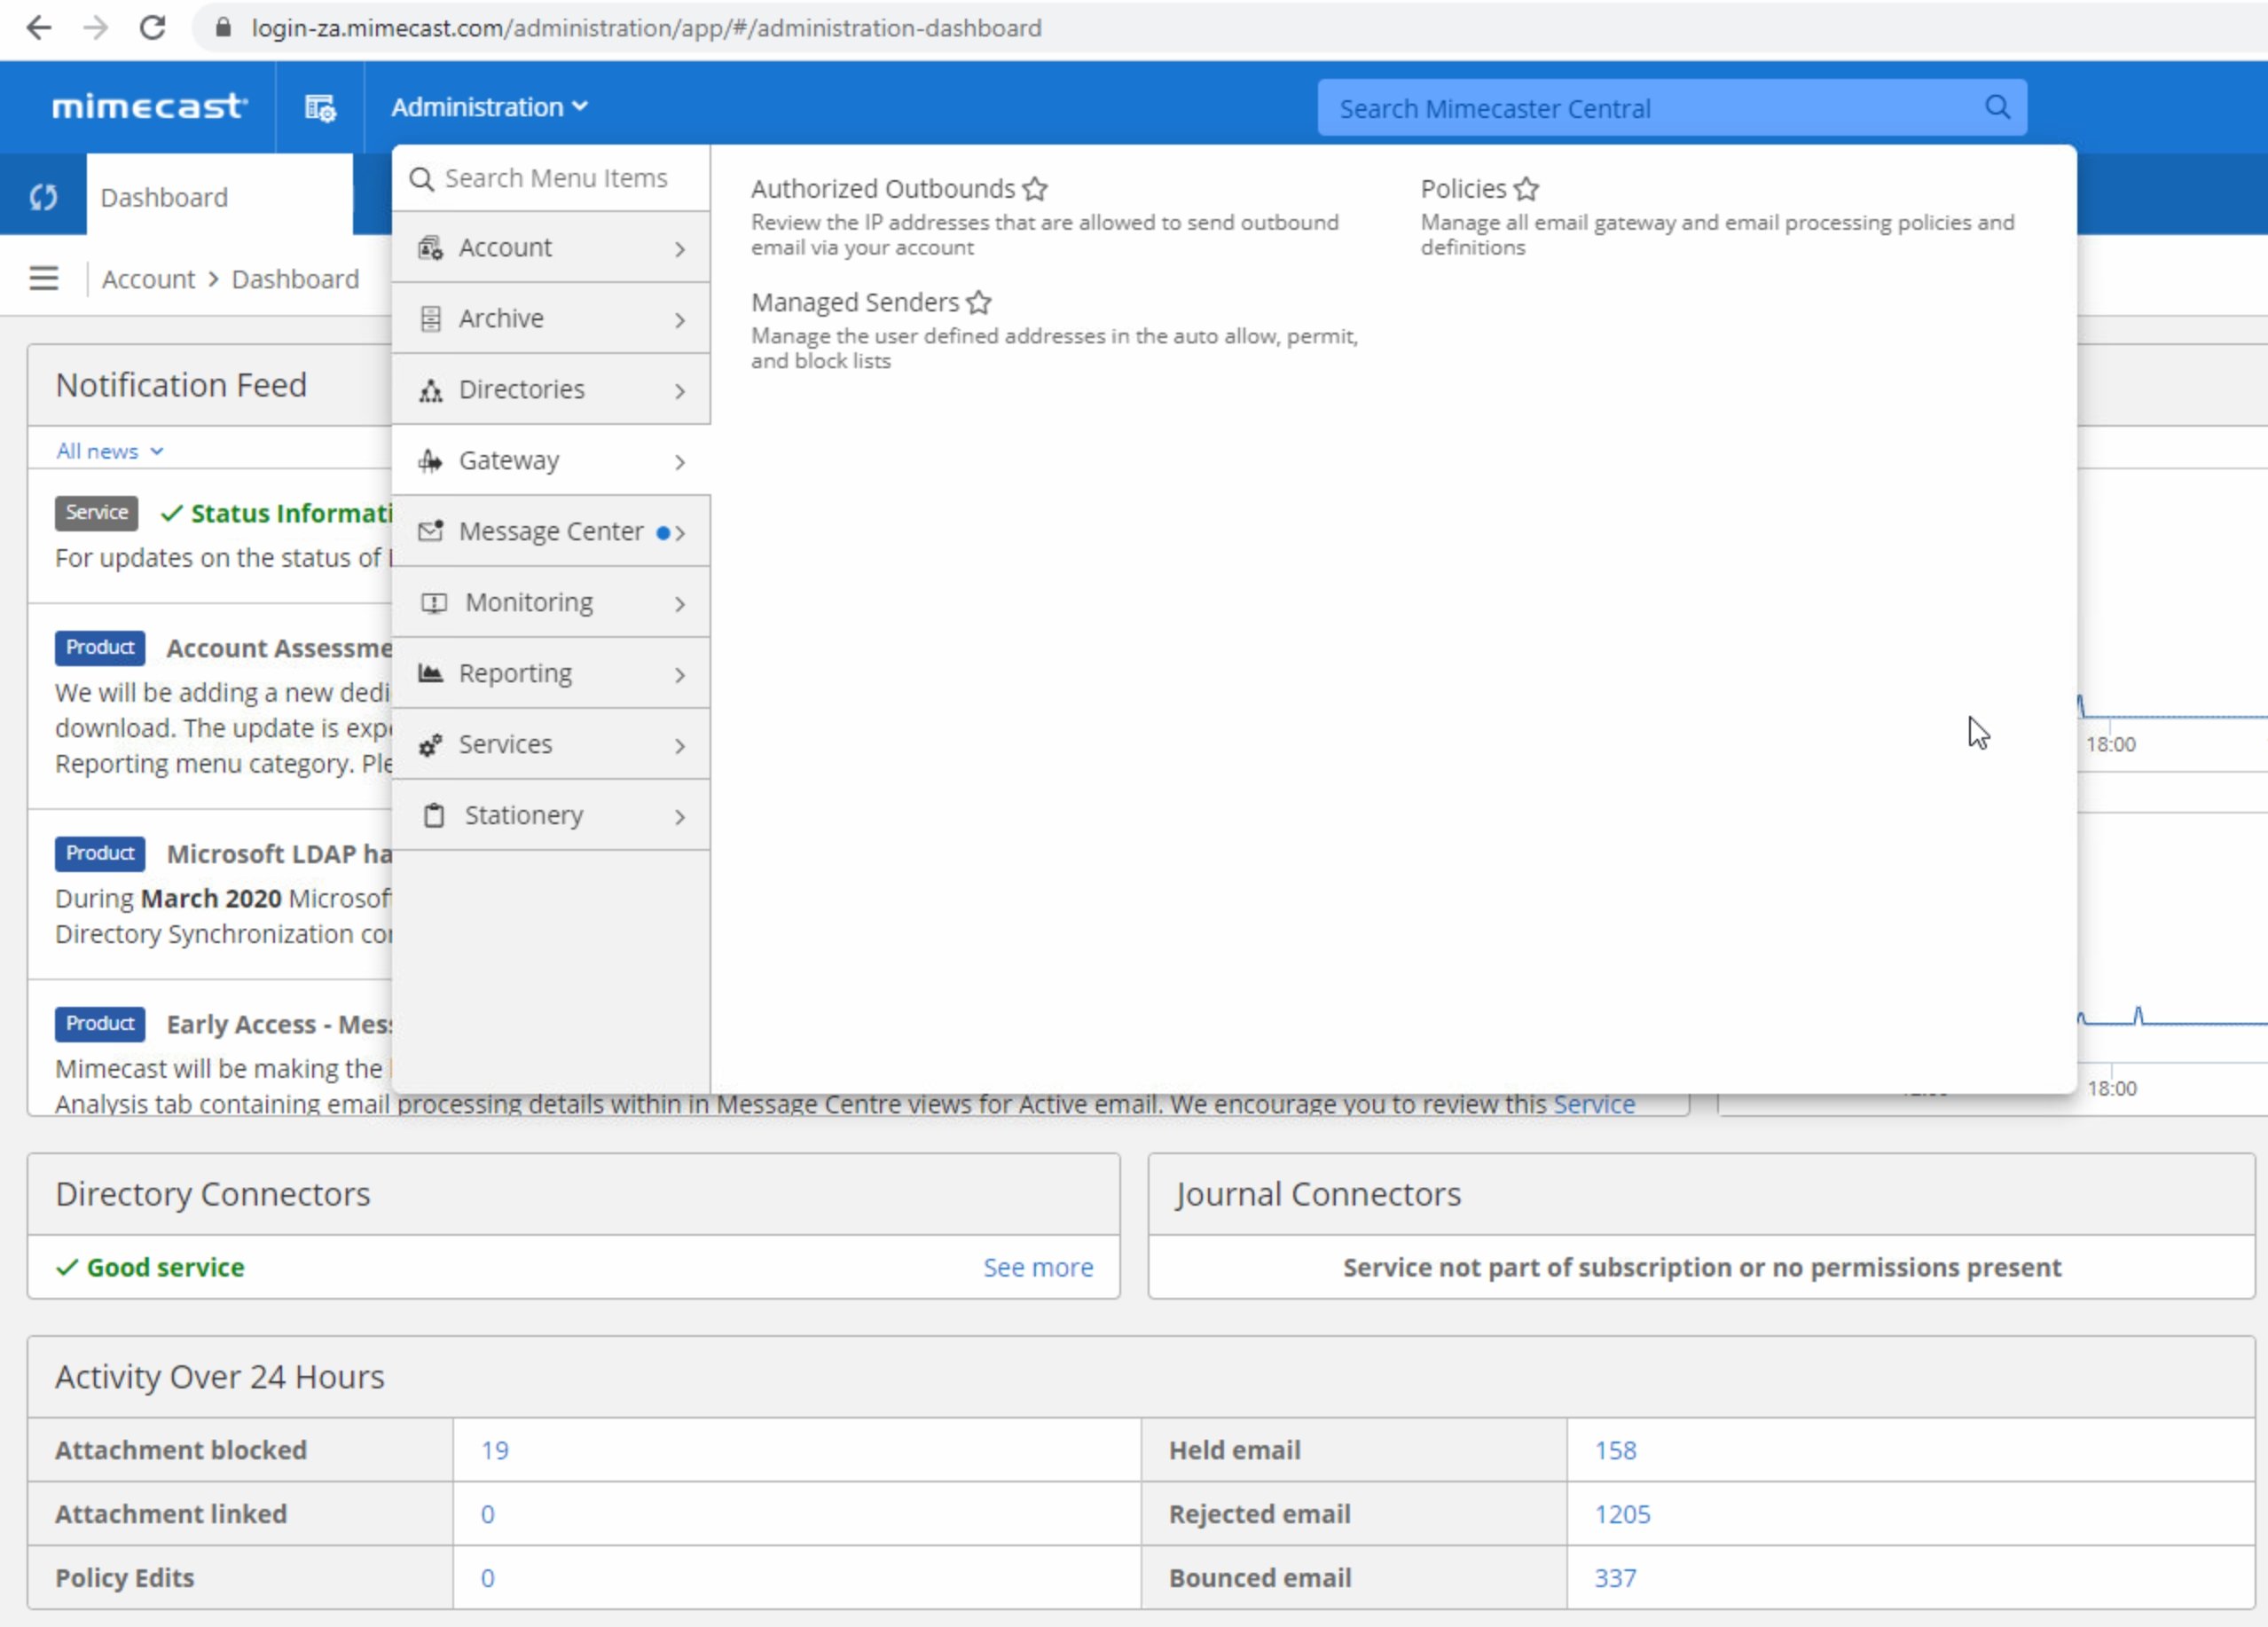
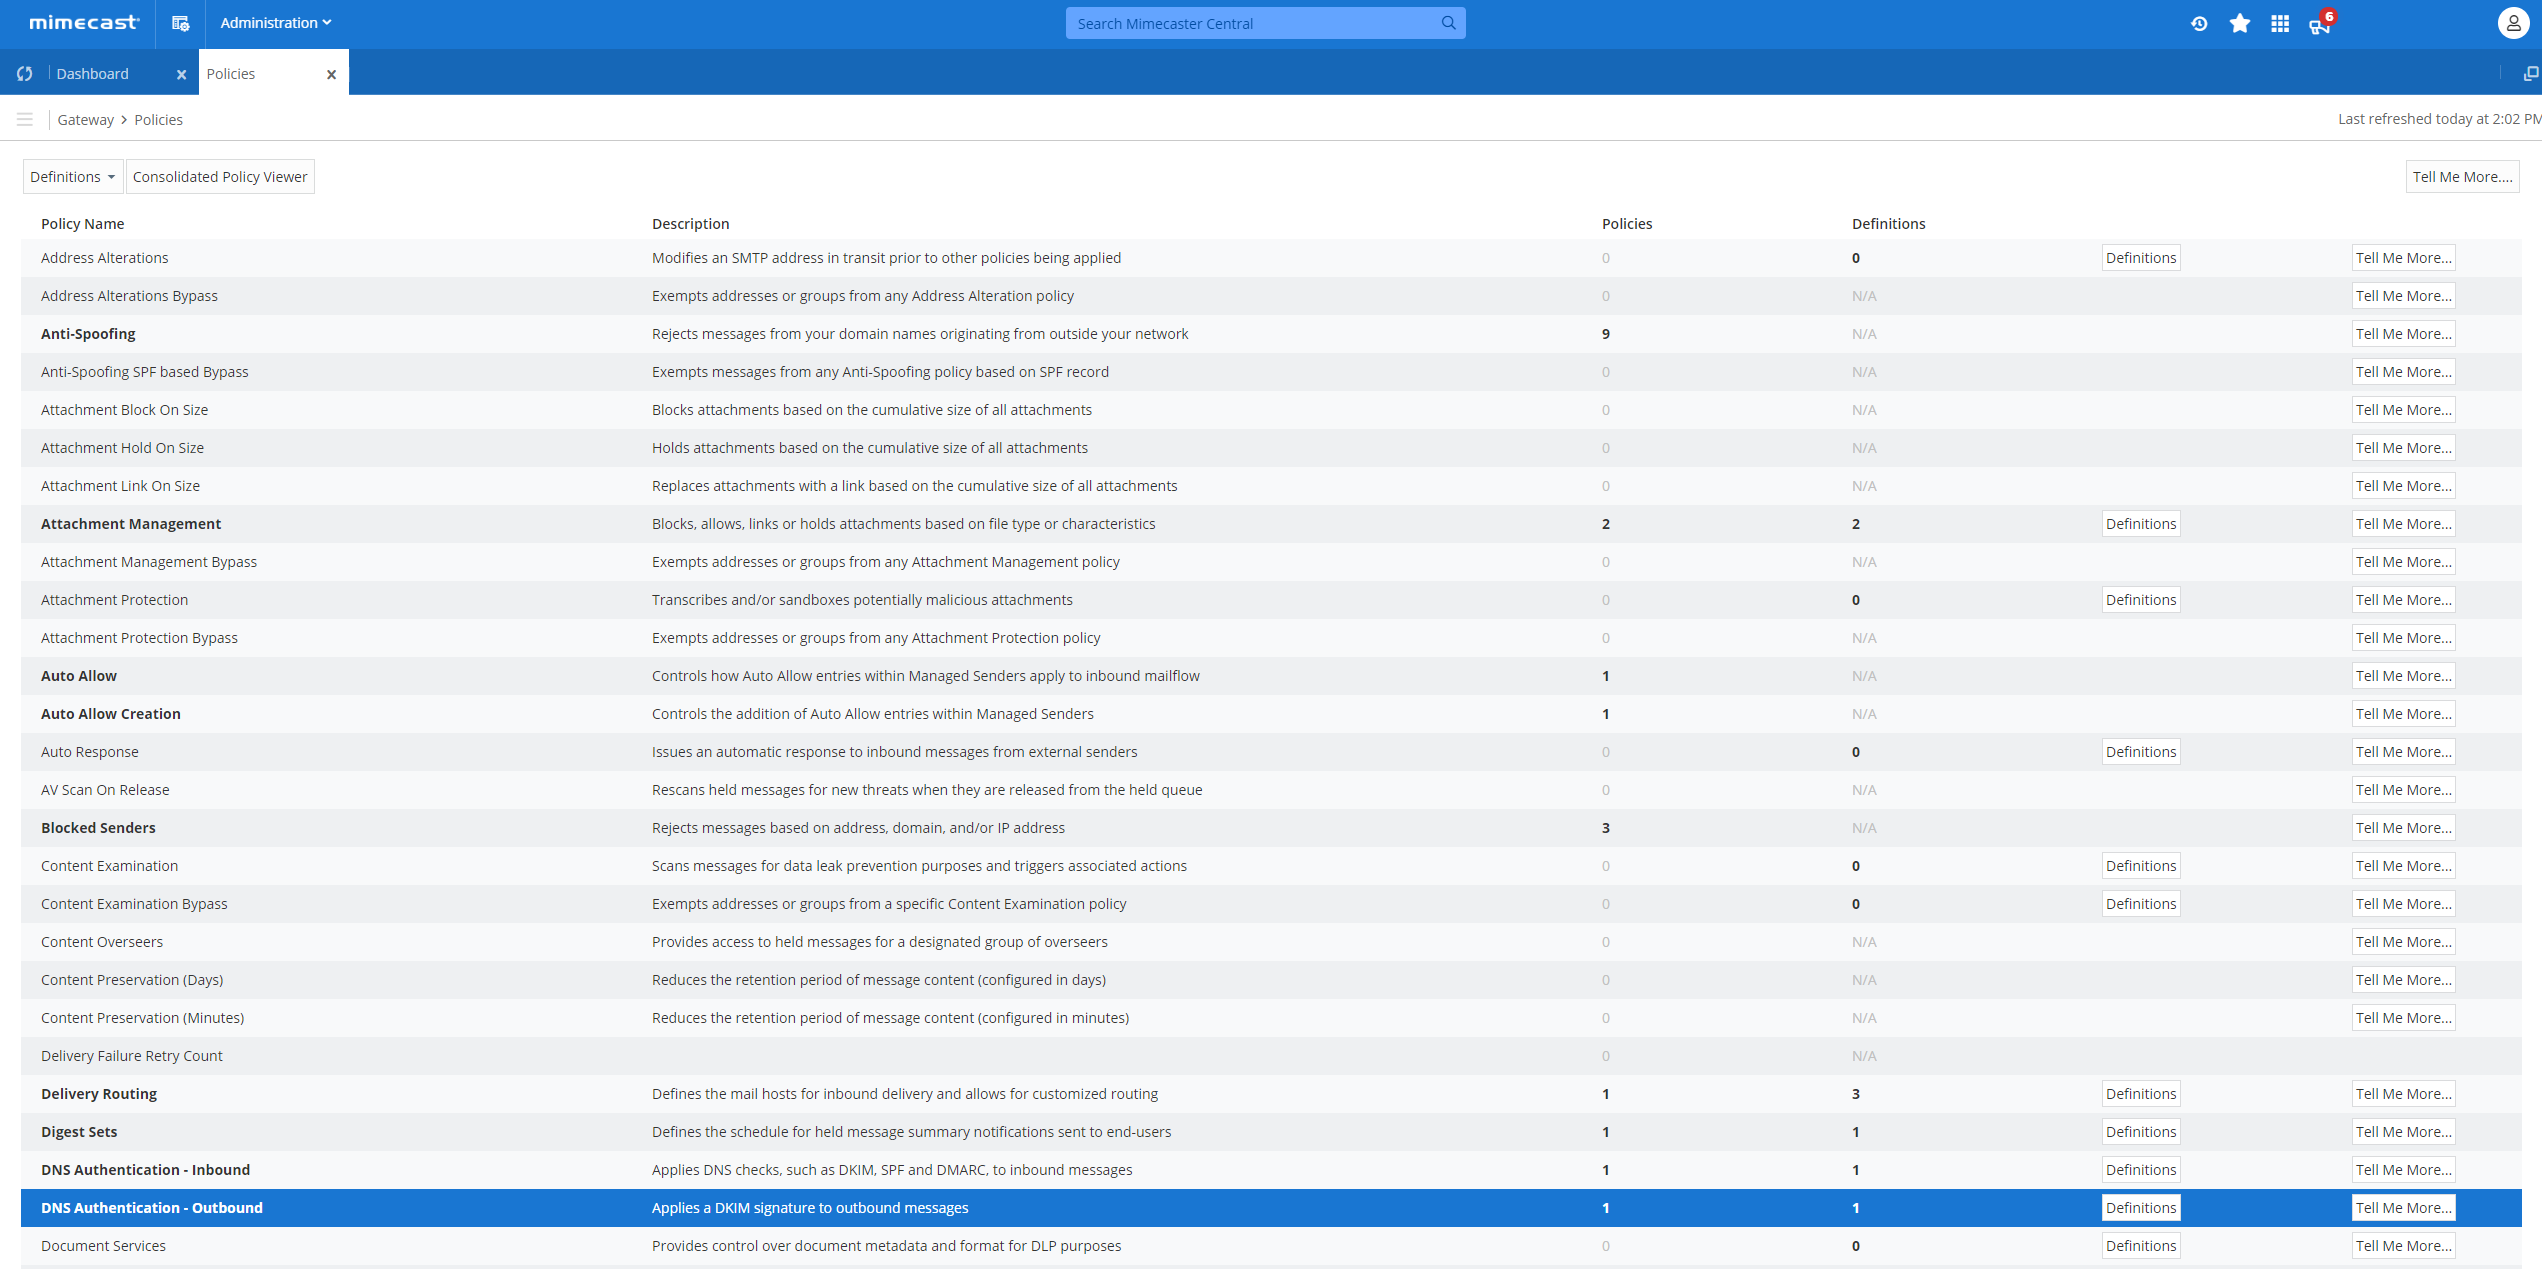
Once logged in, click the “Administration” dropdown, select “Gateway” and click “Policies”.
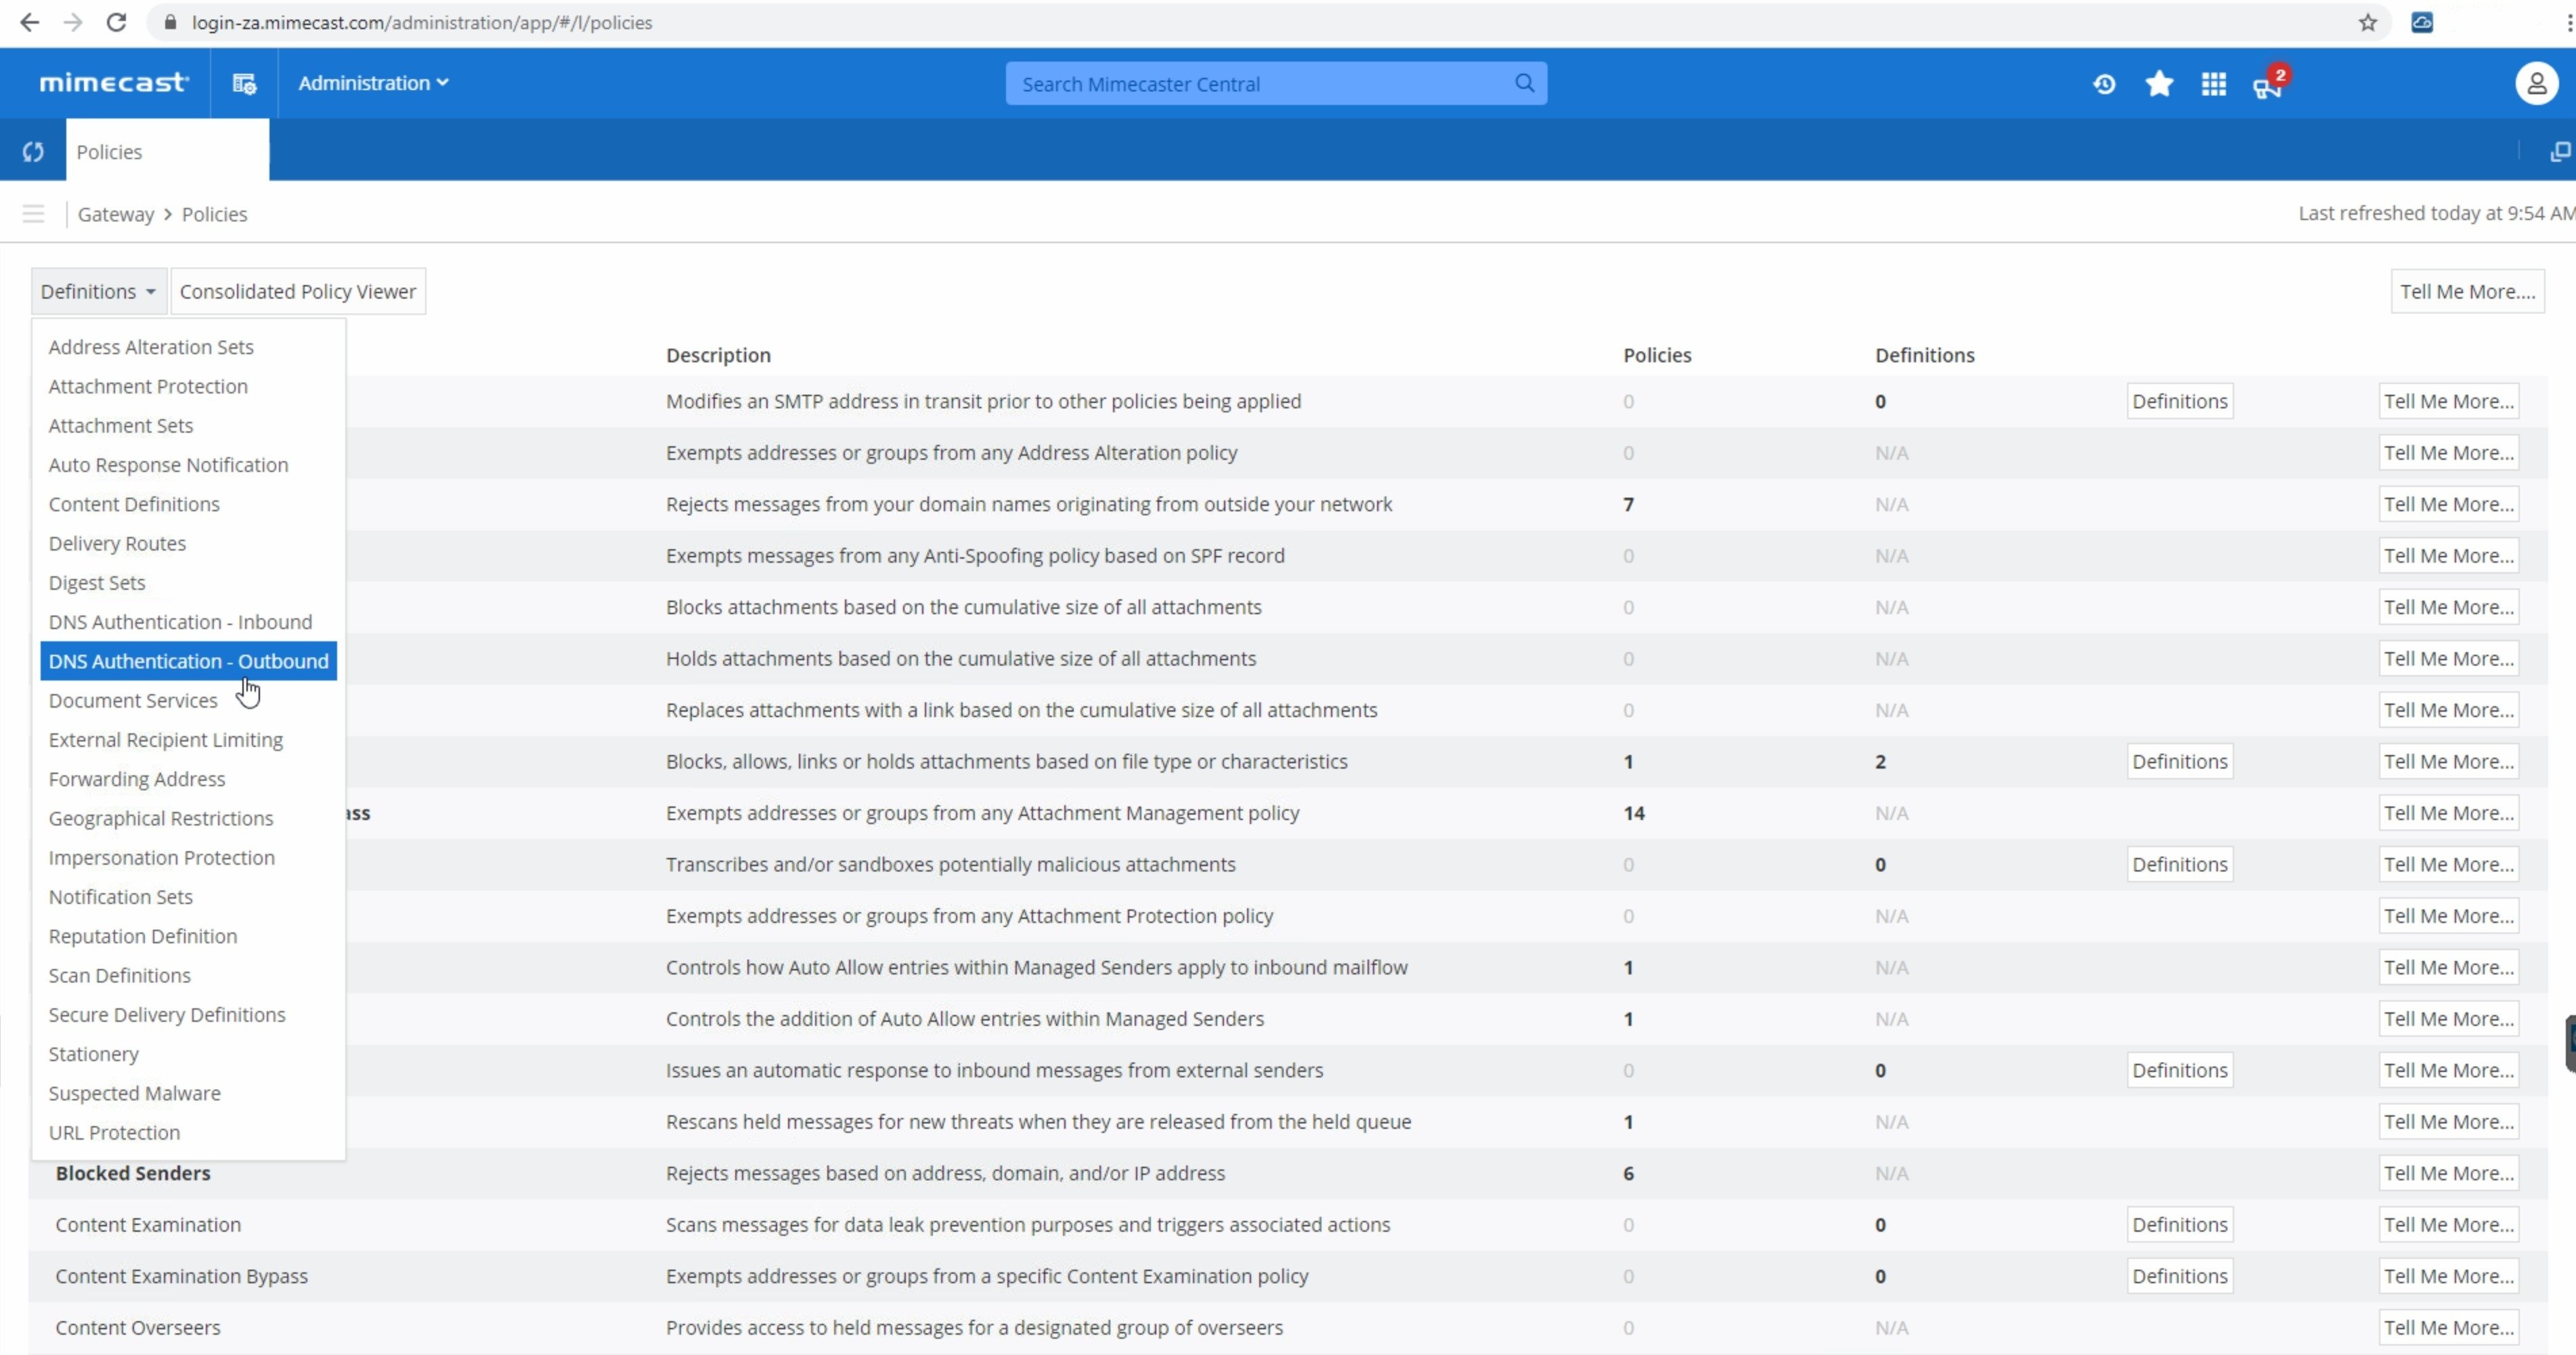
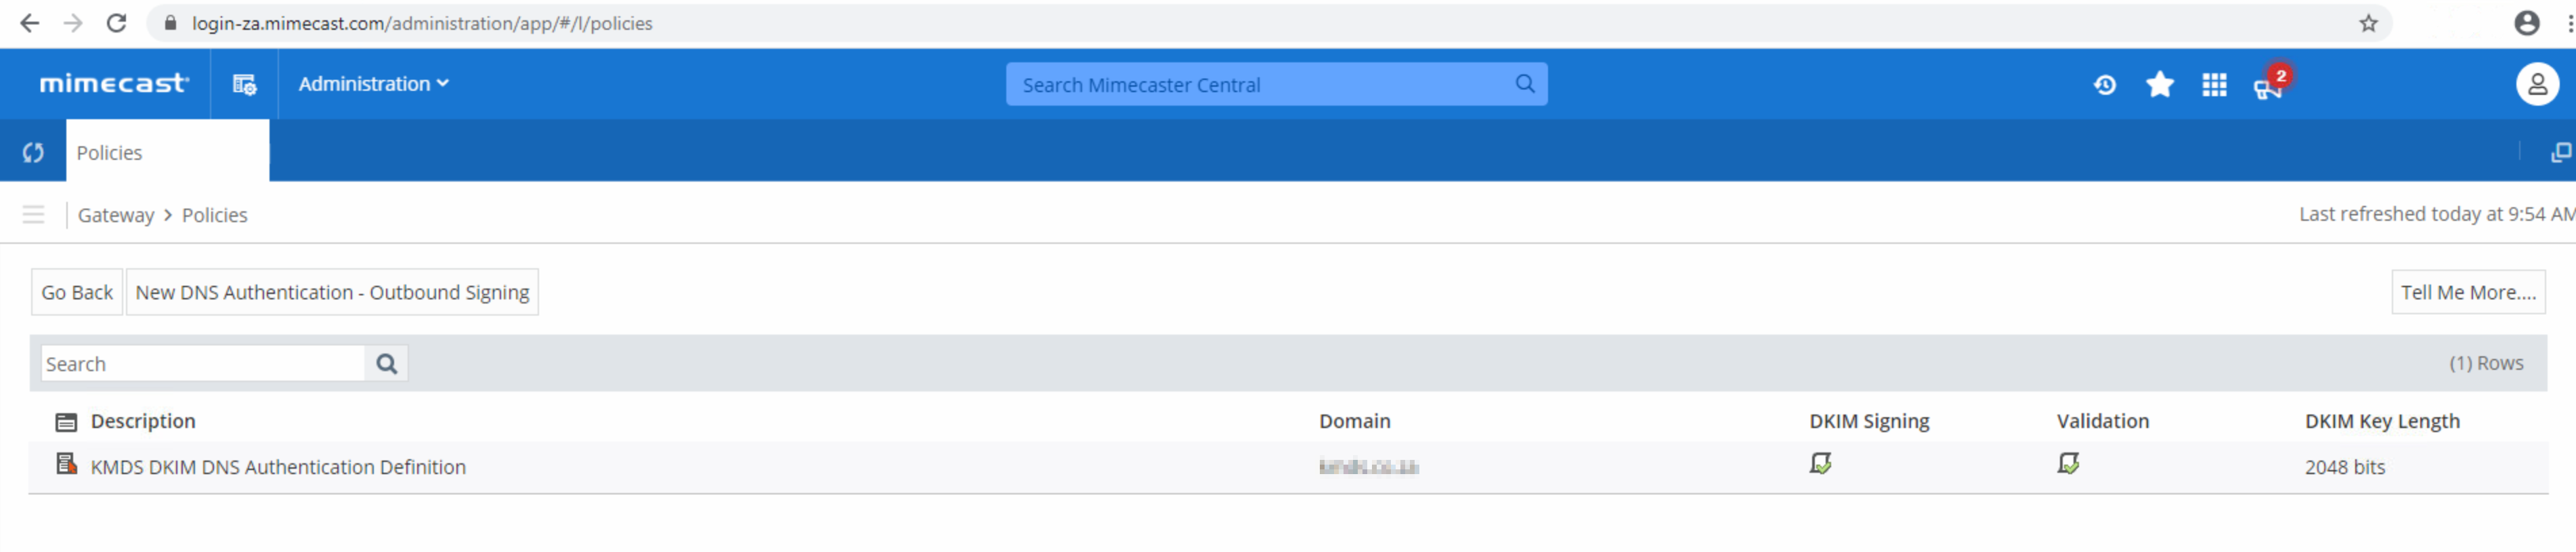
Now click the "Definitions" dropdown and select "DNS Authentication - Outbound".
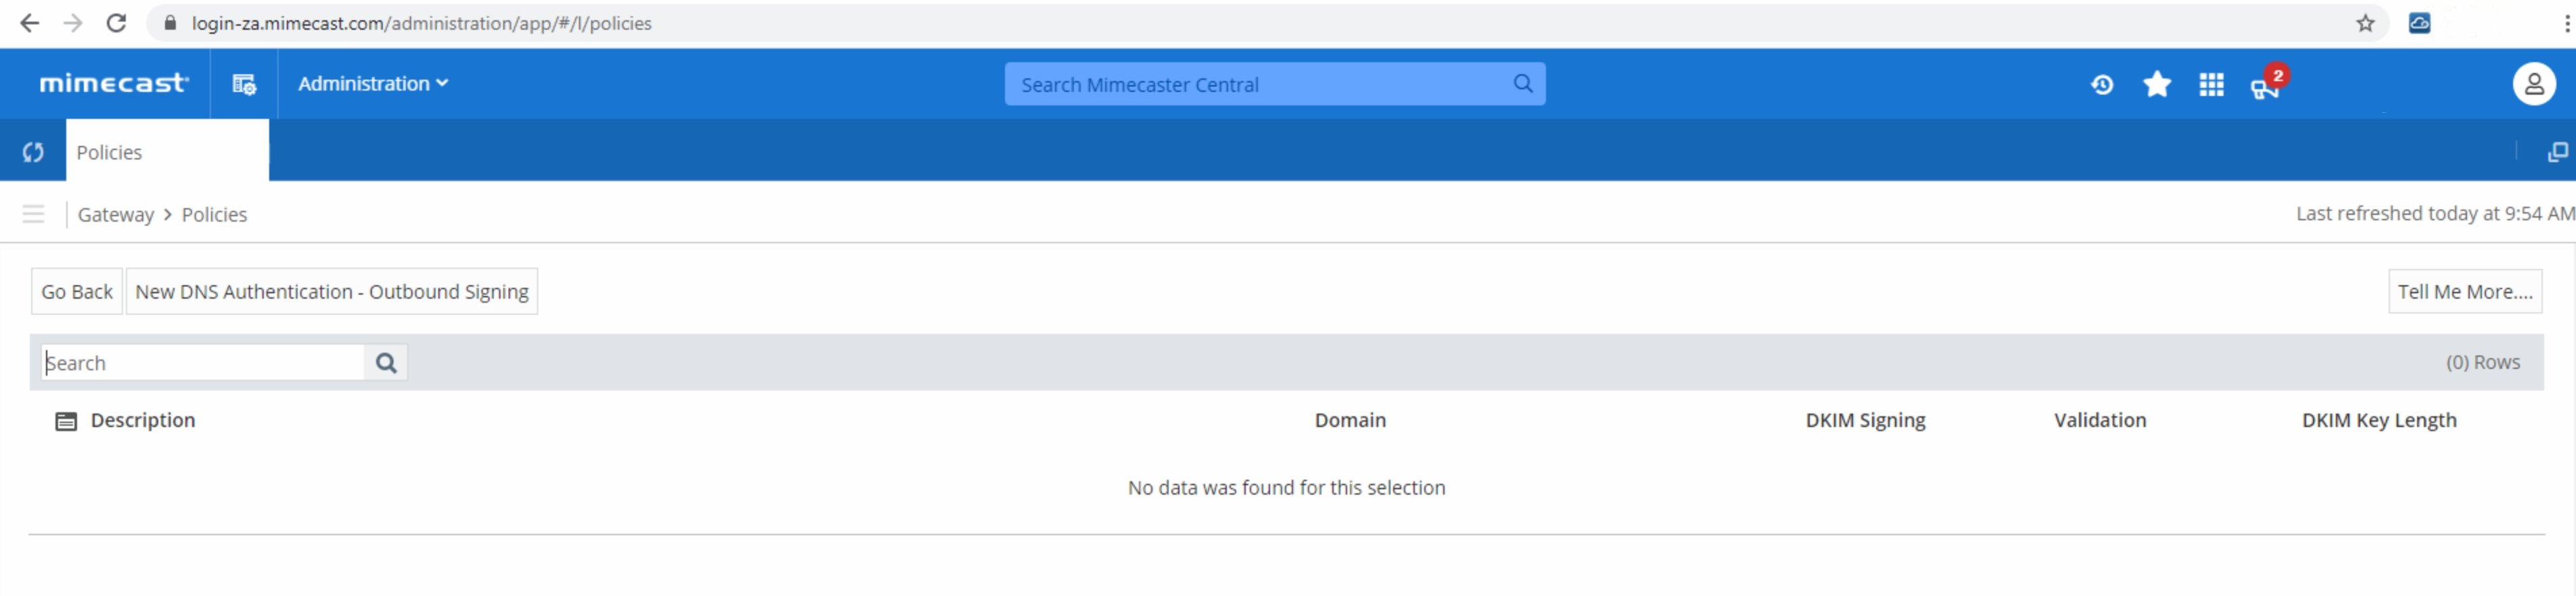
Click “New DNS Authentication – Outbound Signing” to create a new DKIM policy.
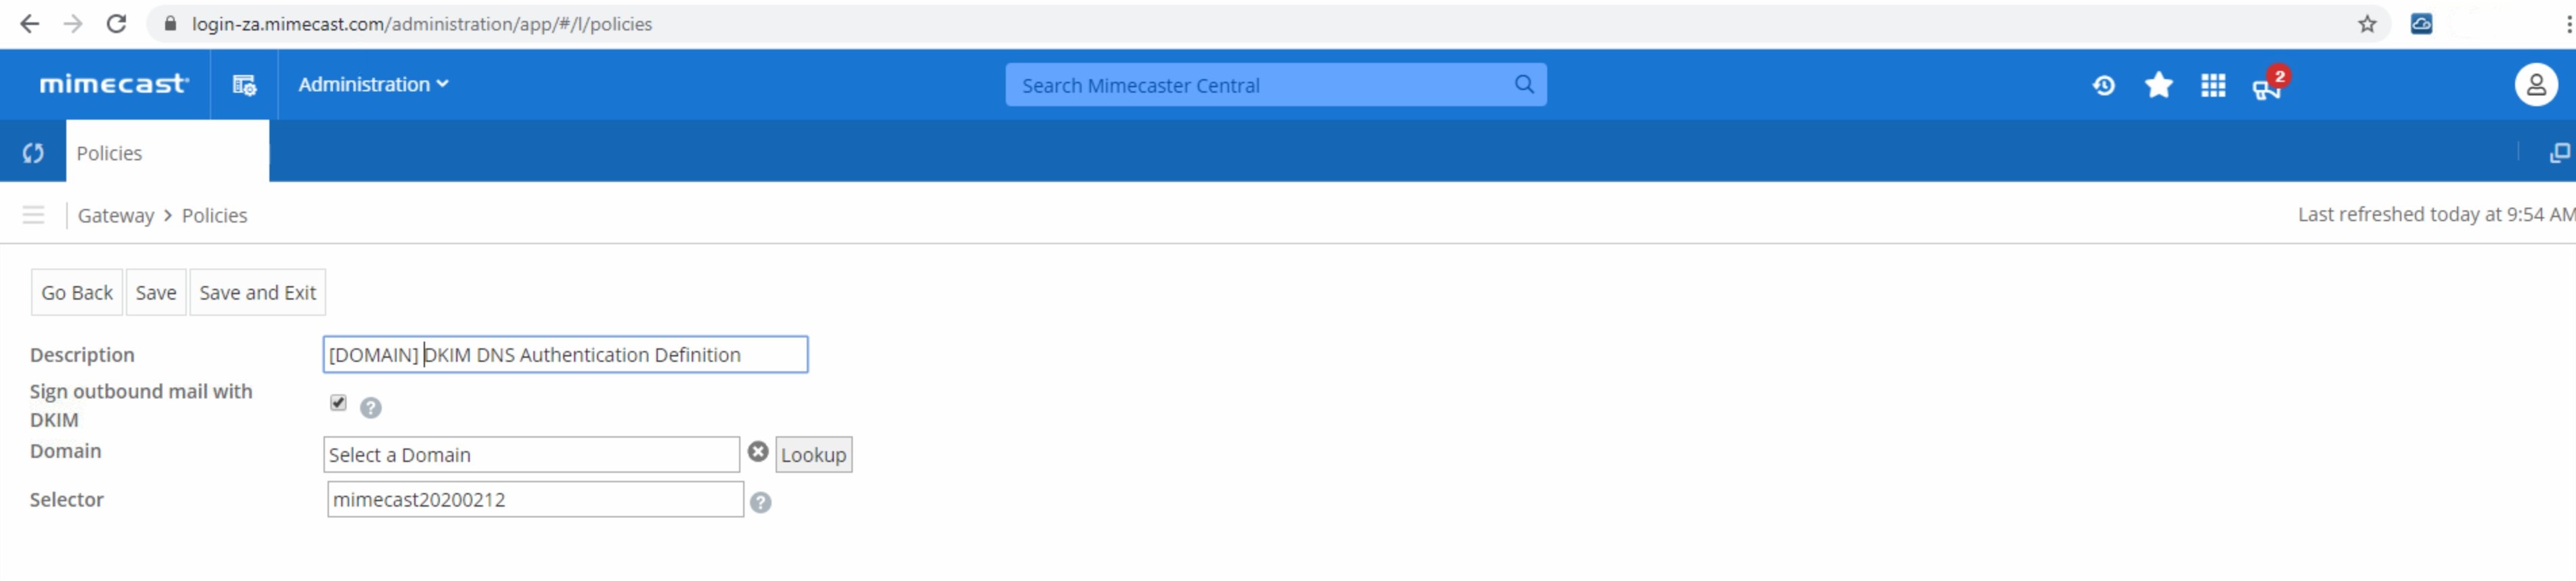
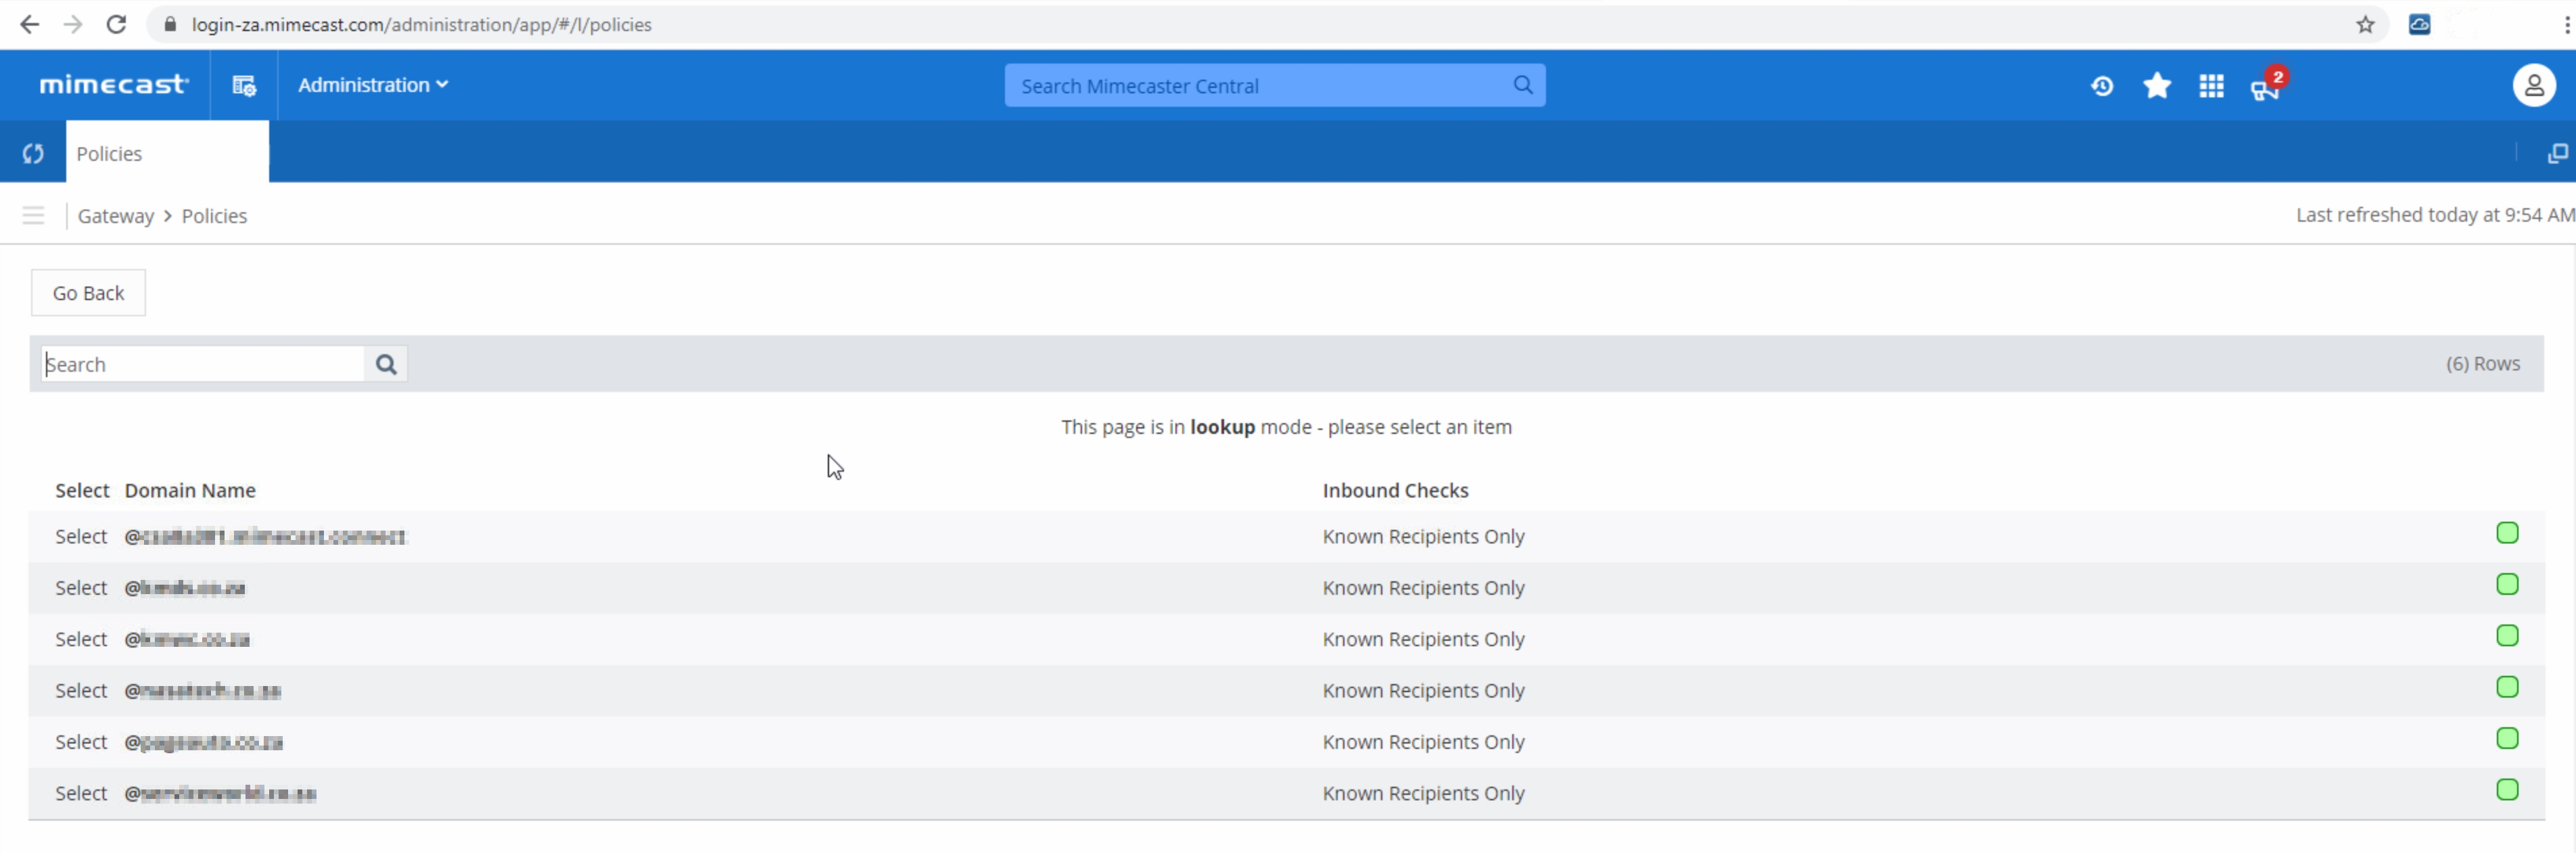
Fill in a description and select “Sign outbound mail with DKIM”. A domain needs to be selected and so click “Lookup” next to “Domain”.
Select your domain by clicking “Select” in front of your chosen domain.
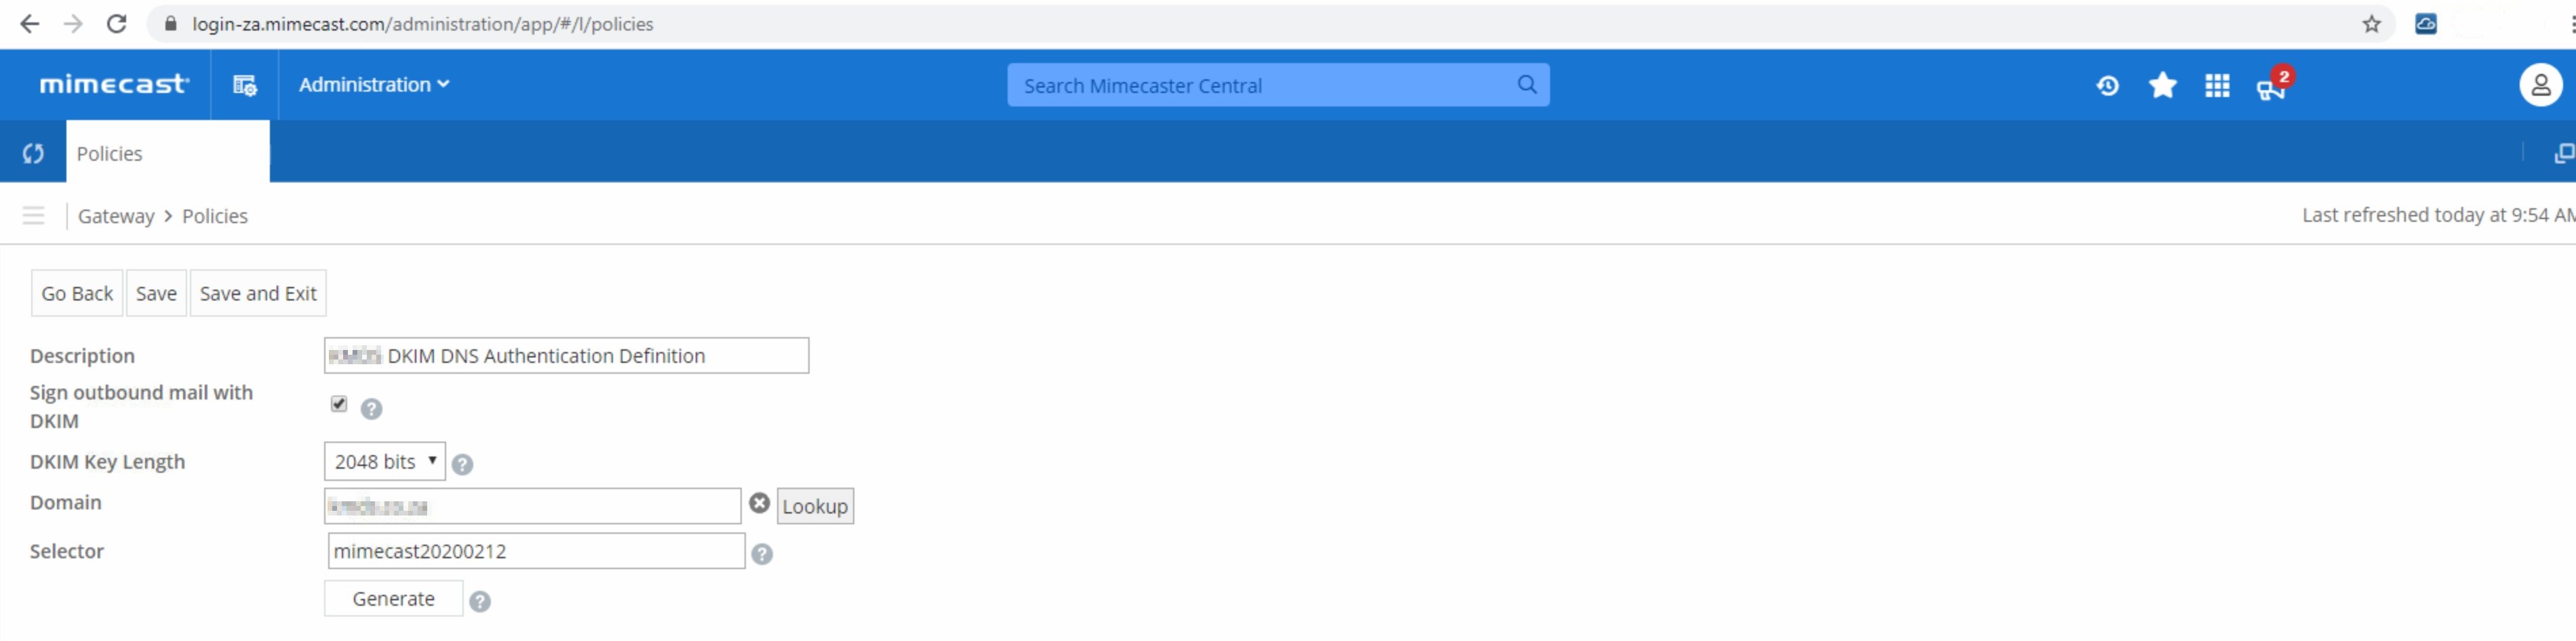
Select either “1024 bits” or “2048 bits” as your DKIM Key Length. We recommend choosing “2048 bits” for more secure encryption.
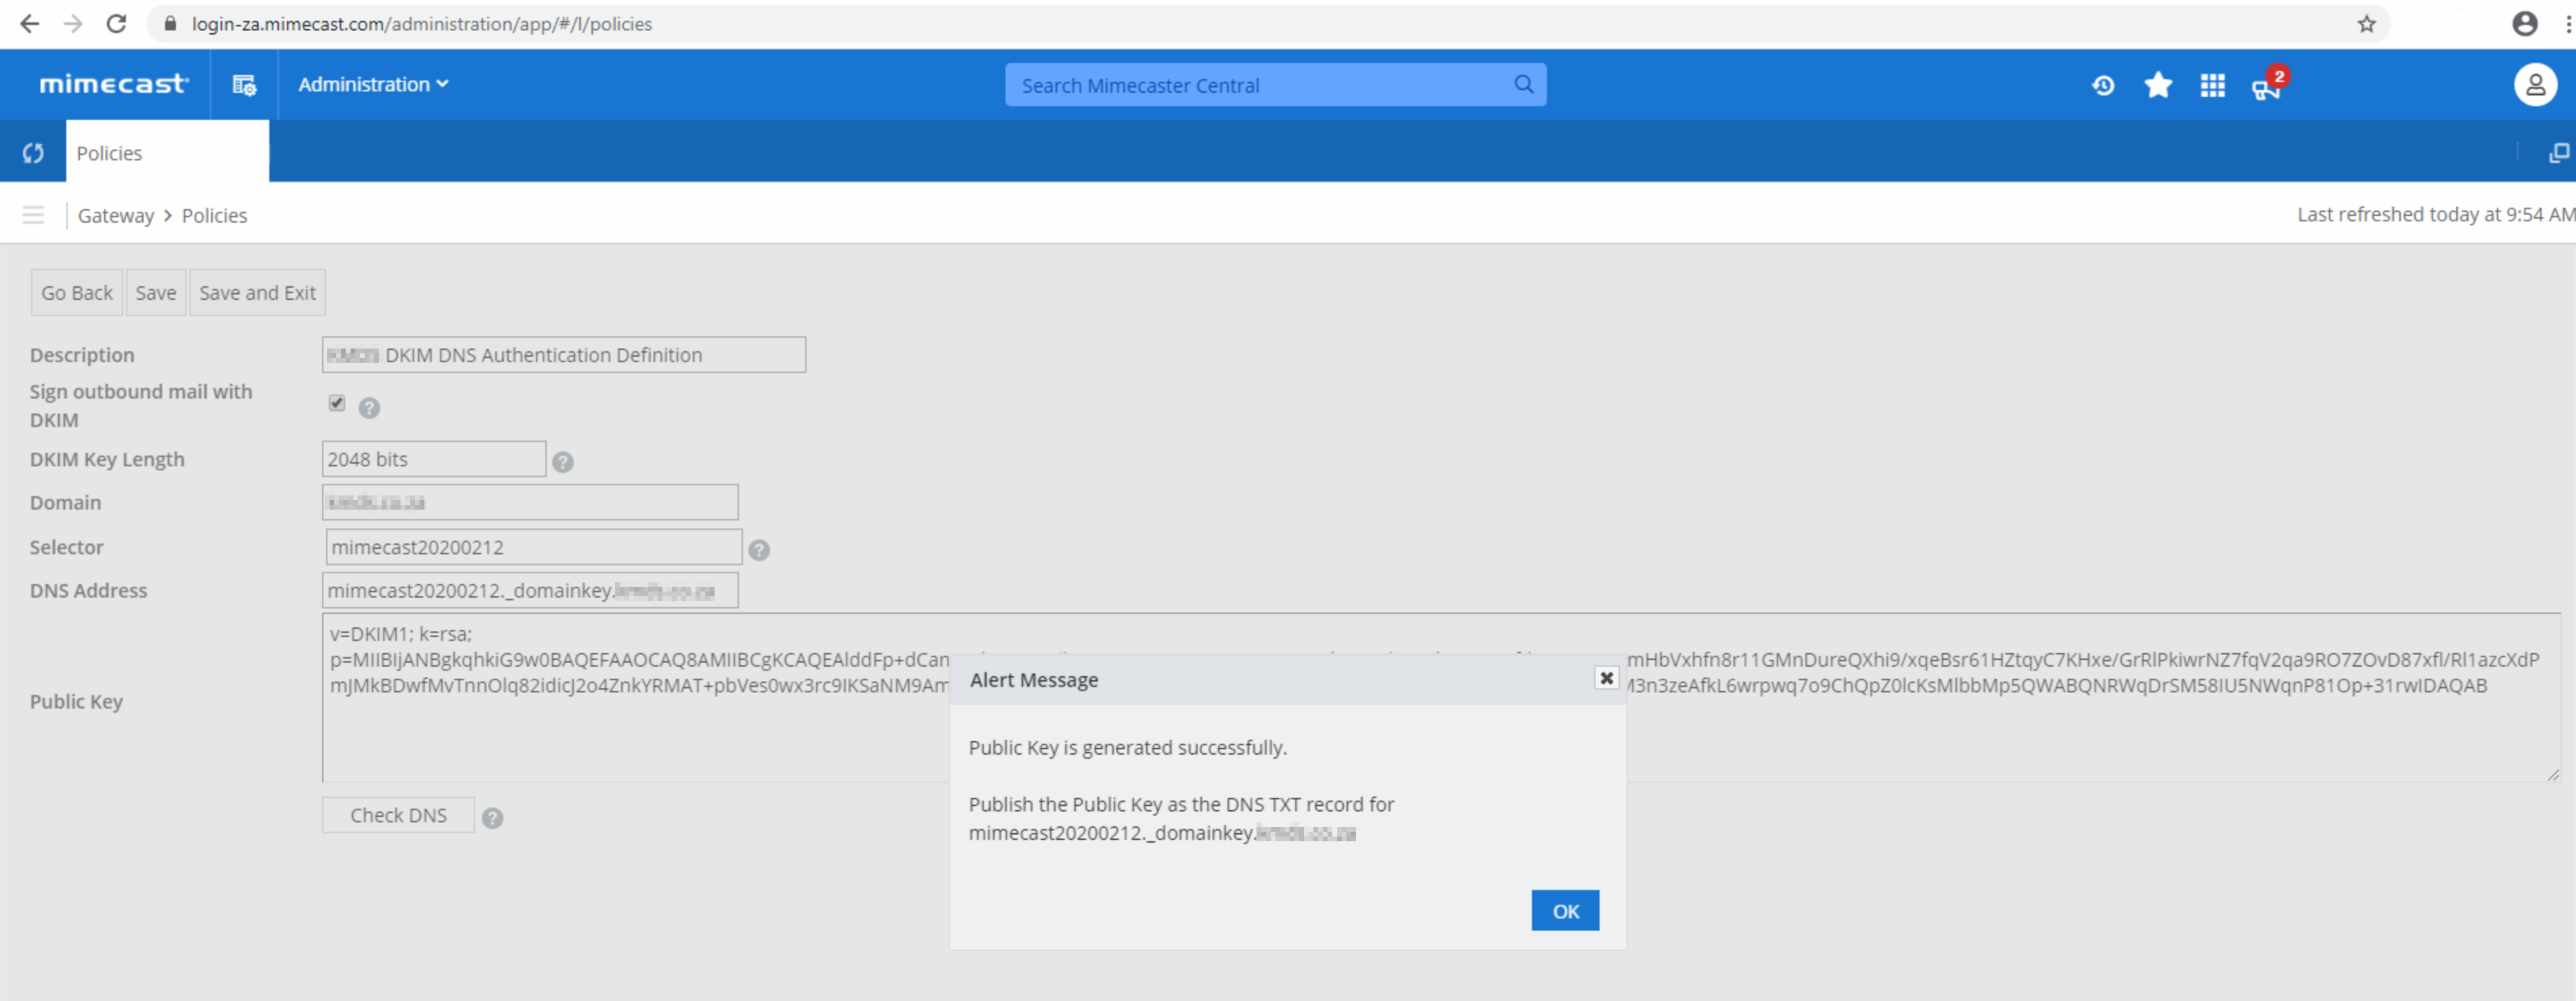
Do not change the “Selector”. Click “Generate”.
our new DKIM key has been generated successfully.
Once generated, you can add your DKIM key under domains in Sendmarc.
Under “Policies” select “DNS Authentication – Outbound”.
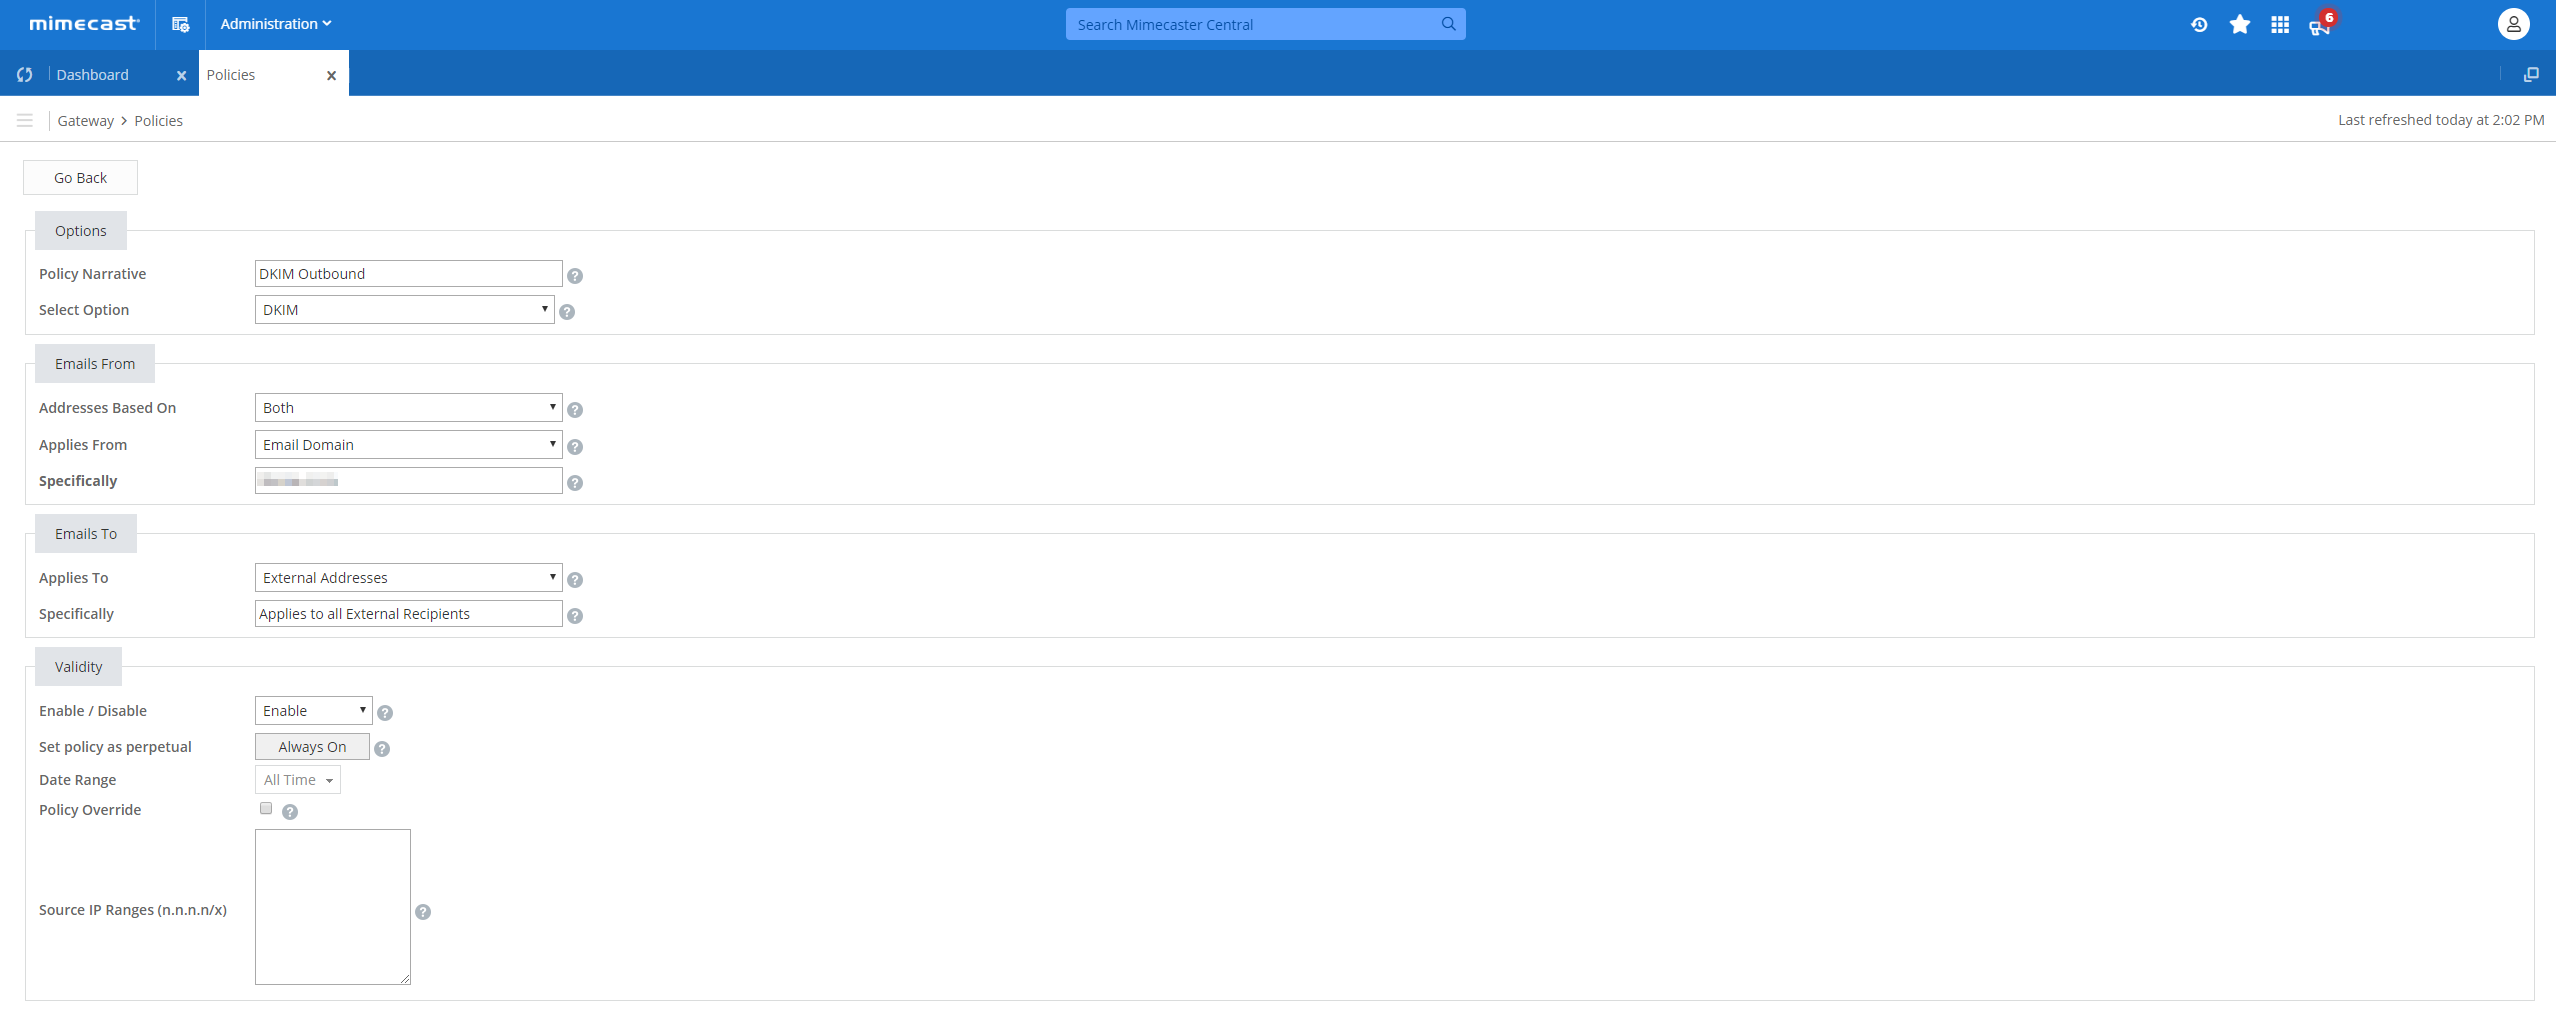
Add a new Policy for Outbound Signing and use the following values:
| Policy Narrative: | DKIM Outbound |
| Select Option: | DKIM |
| Addresses Based On: | Both |
| Applies From: | Email Domain |
| Specifically: | [YOURDOMAIN.CO.ZA] |
| Applies To: | Everyone |
| Enable / Disable: | Enable |
| Set priority as perpetual: | Always On |
Go back into Mimecast and click “Check DNS” to verify that your DNS has been added to your hosting environment successfully.
Need Help?
support@sendmarc.com is standing by to assist!