Rack Space provides businesses of all sizes with cloud services and support and management of leading cloud platforms. They offer dedicated hosting of infrastructure and solutions for a wide range of applications and cloud environments.

| SPF | DKIM |
| Yes | Yes |
Rackspace SPF Setup
- Log in to the Control Panel for your domain DNS host.
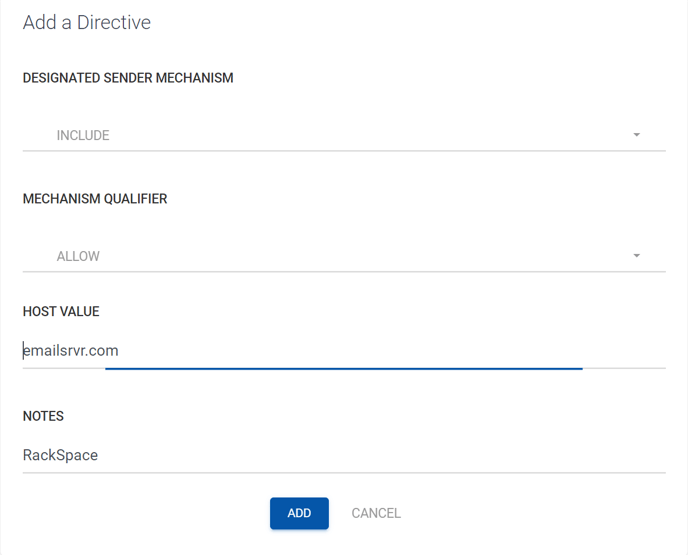
- Create a TXT record with the following specifications:
| Includes | v=spf1 include:emailsrvr.com ~all |
Add your SPF includes to the Sendmarc Portal
Rackspace DKIM Setup
- Log in to the Cloud Office Control Panel
- In the Domains section of the home page, click the Sender Authentication (DKIM) link.
- On the Sender Authentication (DKIM) page, click the domain for which you want to enable DKIM.
- Click Enable DKIM.
- If you manage your domain's DNS through your Cloud Office Control Panel, DKIM enabling is automatic.
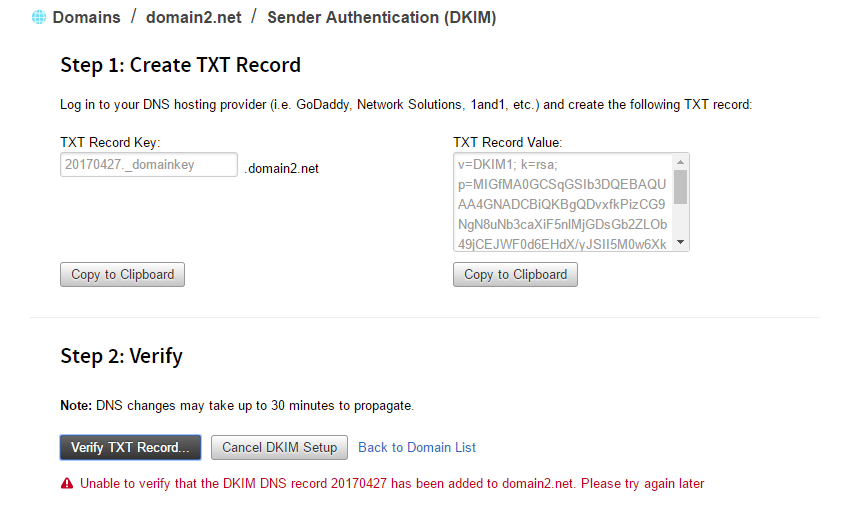
- If you manage your domain's DNS through another service, that service provides the DNS key and value information to add a new
- After adding the DKIM TXT record, click Verify TXT Record to ensure that the new DKIM record is publicly available in DNS and is correct. If validation fails, then an appropriate error message displays to help you correct the problem.
 After DKIM is enabled, all new outgoing email messages are signed using your new DKIM key. You can repeat the DKIM-enabling
Official Documentation
https://docs.rackspace.com/support/how-to/create-an-spf-policy/
https://docs.rackspace.com/support/how-to/enable-dkim-in-the-cloud-office-control-panel/
Need Help?
support@sendmarc.com is standing by to assist!