| Proofpoint, Inc. is an American enterprise cybersecurity company based in Sunnyvale, California that provides software as a service and products for email security, identity threat defense, data loss prevention, electronic discovery |
|

1. Proofpoint SPF Setup
Please note: To authorize Proofpoint to send emails on your behalf you will have to include it in your SPF record.
| For adding Proofpoint to existing SPF record | Allow A records for the ProofPoint Region you are hosted in. |

Please get your region code for your ProofPoint Instance from your Proofpoint Setup Guide for domain onboarding.
2. Enable Outbound DKIM signing
Each domain that sends email can be individually configured to sign outbound messages with DKIM. To enable the feature, you will need to create a new signing key, add the public key to your DNS zone, and verify that its been added correctly.
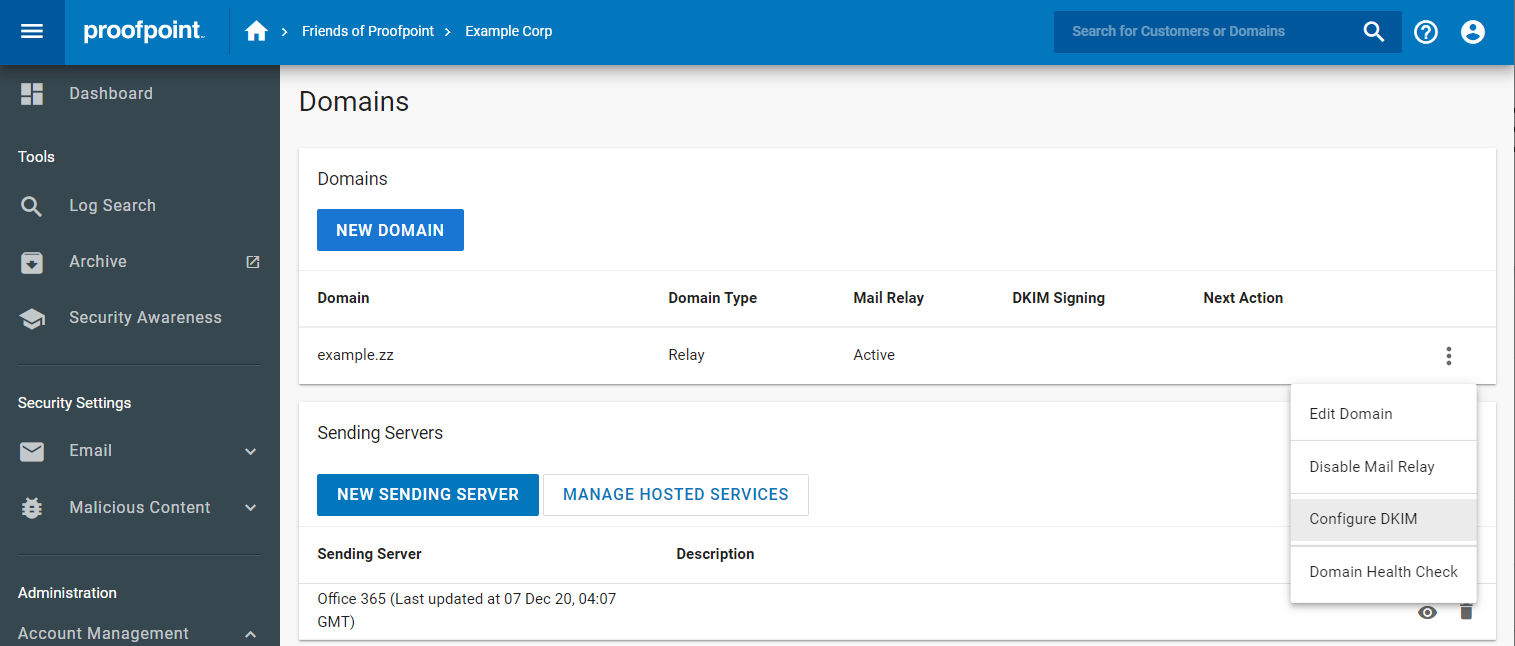
- Navigate to Administration > Account Management > Domains.
- Select the domain you want to configure and click the vertical ellipsis on the right-hand side of the Domains table.
- Click the option labeled Configure DKIM.
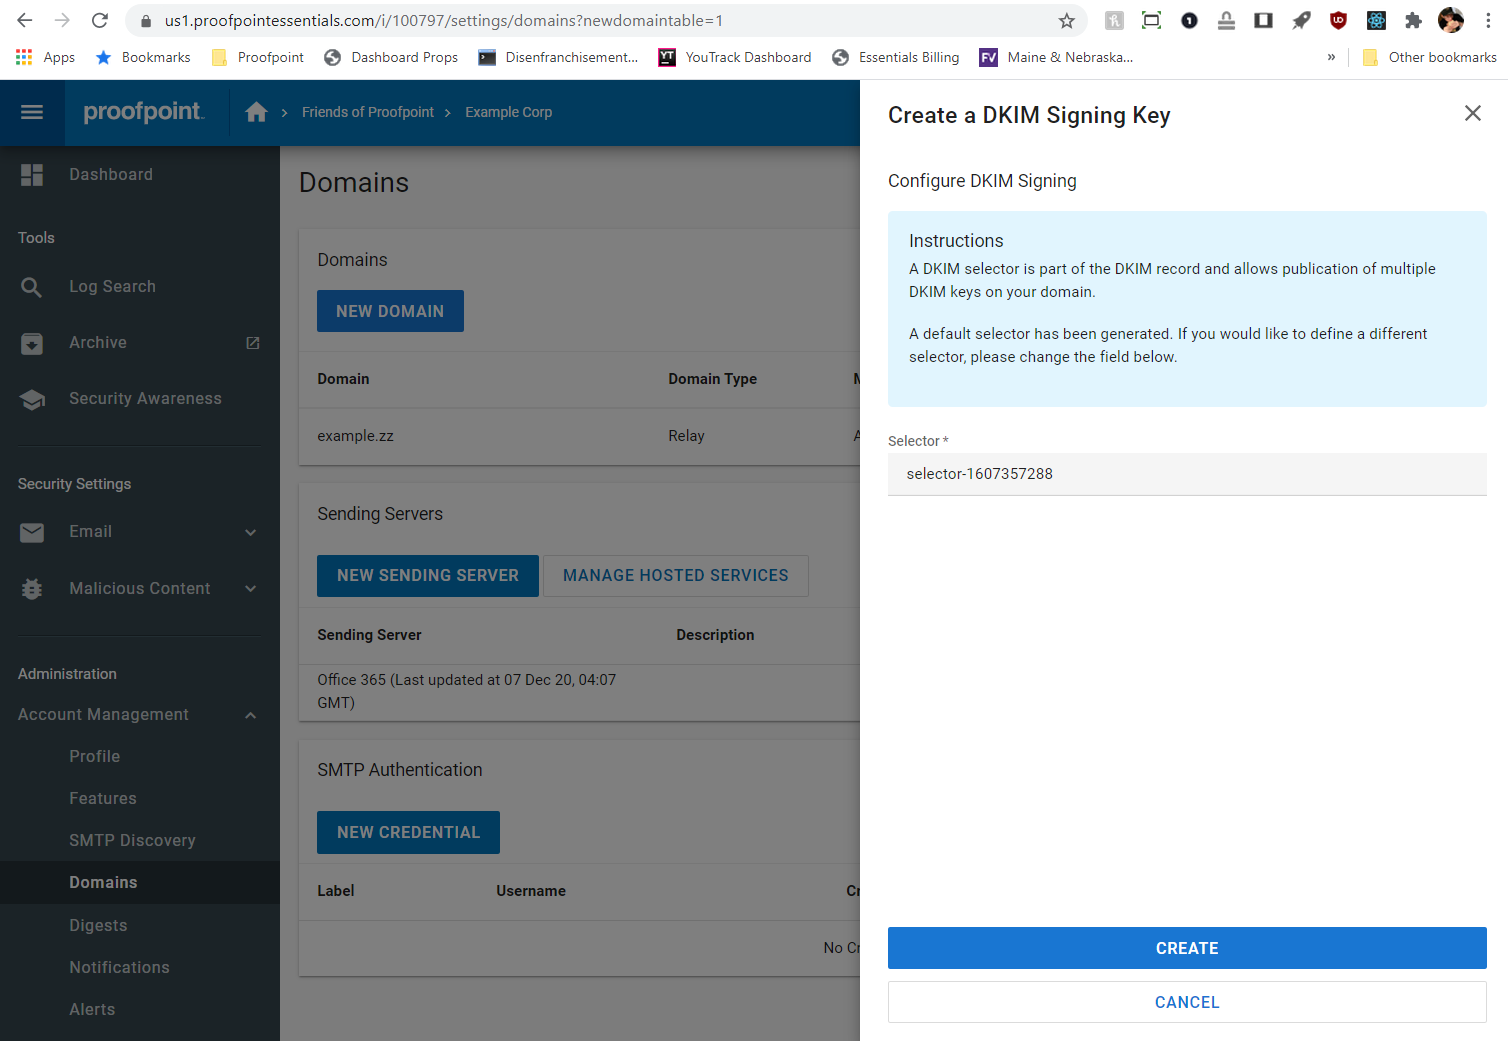
- A drawer will appear on the right side of the screen, listing all the currently configured DKIM keys. If this is your first time configuring DKIM, no keys will be listed. Click Create New DKIM Signing Key.
- The form will appear asking you to specify a selector. A selector is used to locate the public key in DNS and is not visible to end users. A value is pre-populated, but you can change it if you'd like. Click Create.
- The resulting screen will give you the hostname and value to put into Sendmarc.
You are also given an opportunity to save the private key to a secure location, in case you need it in the future. This is the only time this value will be displayed.
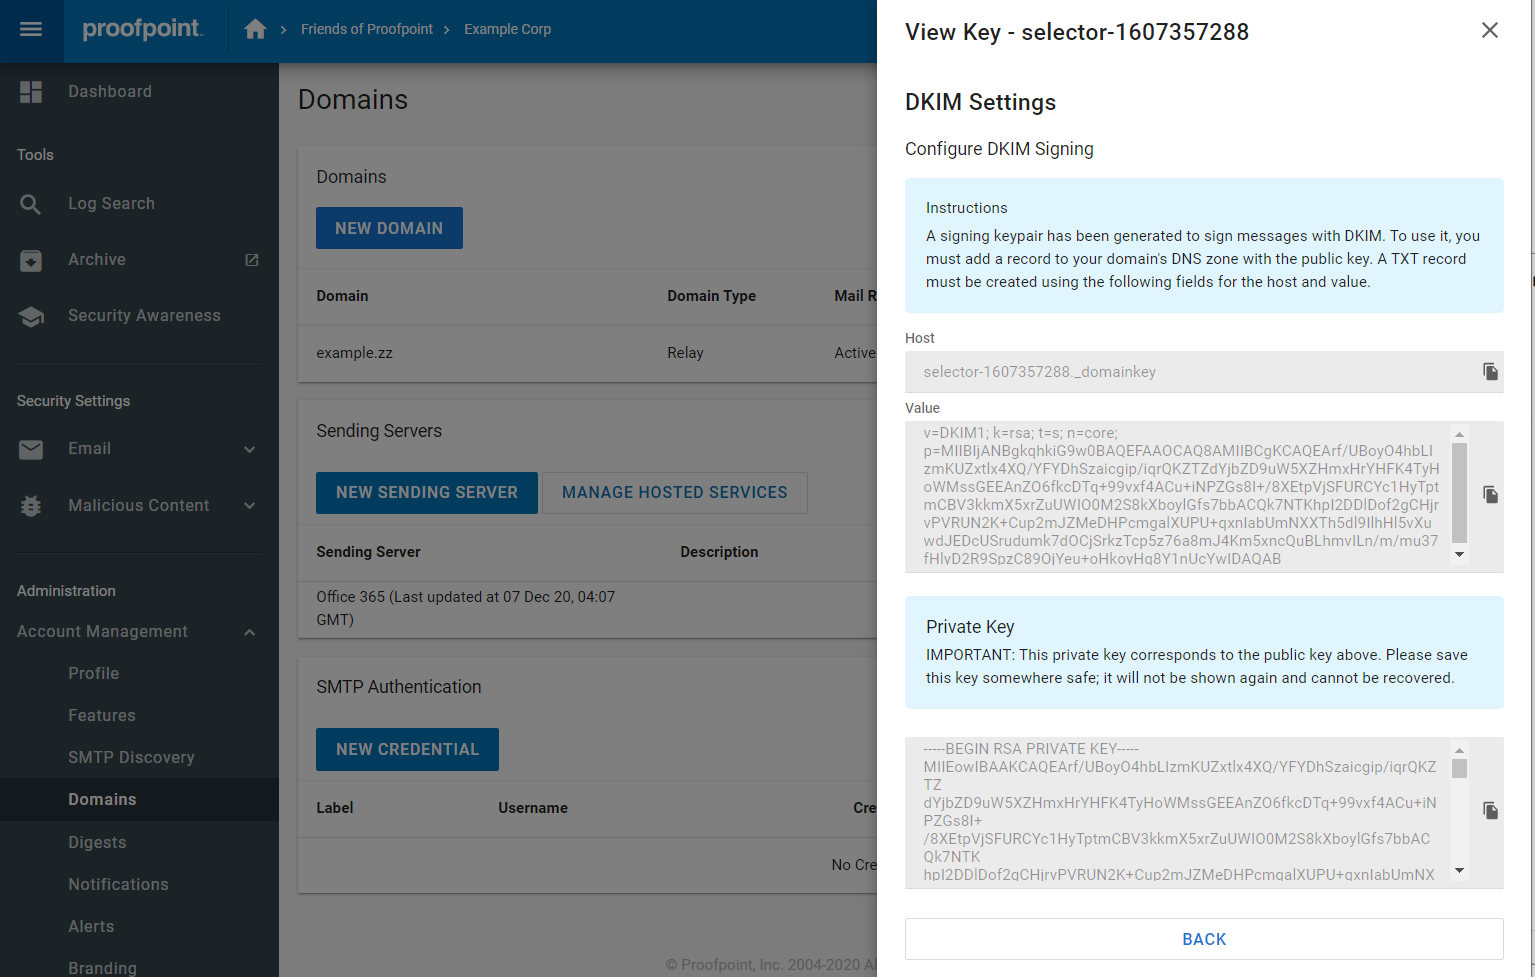
- Add your DKIM key into the Sendmarc Platform

- Once you've made the addition to Sendmarc, Proofpoint Essentials will need to validate that the record was added correctly. To do so, click the Verify Key button in the key's context menu.
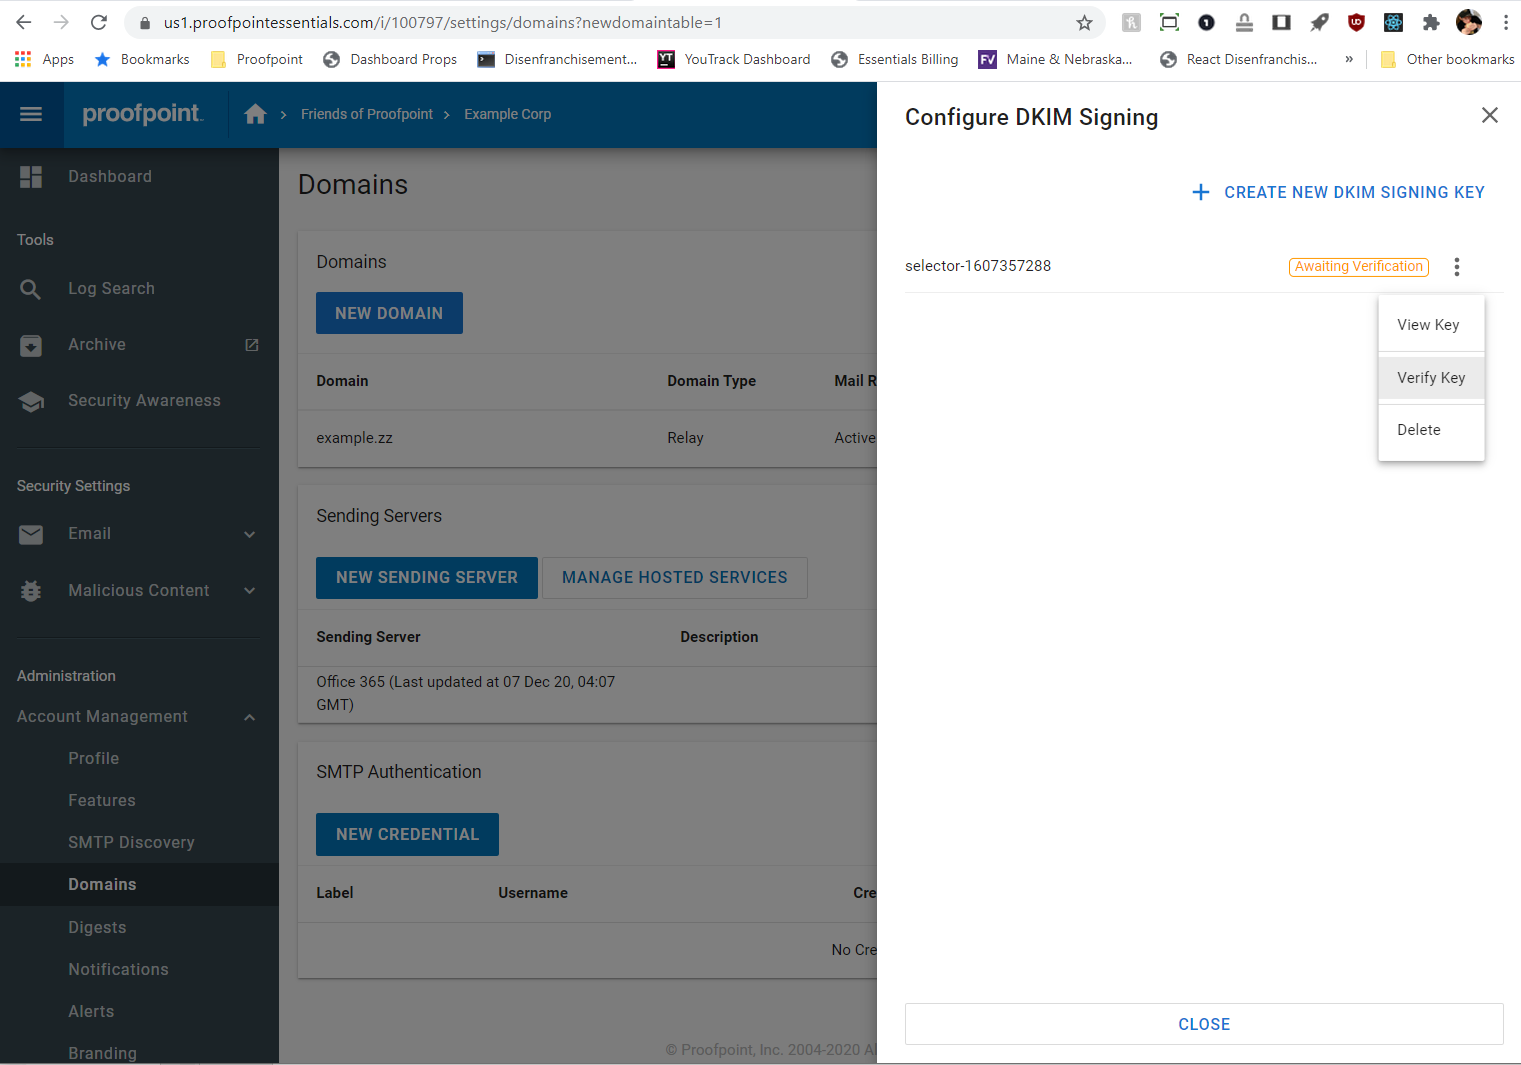
- Once the key is successfully verified, outbound DKIM signing is automatically enabled for this domain. You can disable signing at any time by using the vertical ellipsis on the right-hand side of the Domains table. Click the option labelled Disable DKIM.
Official Documentation
https://help.proofpoint.com/Proofpoint_Essentials/Email_Security/Administrator_Topics/030_domains/Configuring_Outbound_DKIM_Signing
Need Help?
support@sendmarc.com is standing by to assist!