|
The Leading Email Delivery Service for Businesses Around the World. Powerful APIs that enable you to send, receive and track email effortlessly. |
| Table of Contents |
1. MailGun SPF Setup
To set up your SPF record with Mailgun or edit your current SPF record to include Mailgun, follow the steps below:
| For adding MailGun to existing SPF record | include:mailgun.org |
2. MailGun DKIM Setup
Follow these steps to enable DKIM for Mailgun:
- Login to your Mailgun account
- Go to the Domains tab
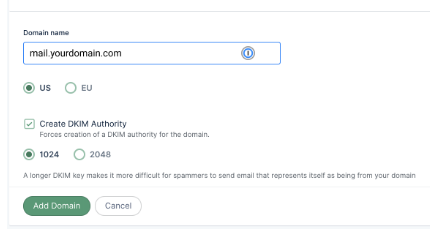
- Click on your domain: mail.yourdomain.com (or add your domain in case you haven’t already done so like shown below)

- On the domain settings page, you will find the DKIM records generated for your domain in the Domain Verification & DNS section
- Copy the DKIM records
- Login to your domain’s DNS management console
- Paste the DKIM records in your DNS
- Save changes
- Wait for some time for your DNS to process these changes (it can take up to 24 hours)
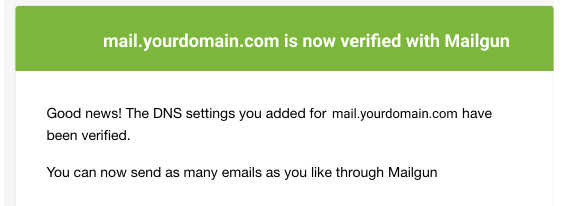
- Log back into your Mailgun account, and check for a verified status (a green verification badge) against your domain name to confirm that your domain has been verified and set up with DKIM email authentication. Additionally, you will also receive an email confirming your verification status from Mailgun.

Once you have completed the DNS Record setup please let us know in order to have the record confirmed and finalized.
* Please ensure that you change <yourdomain.com> to the correct domain before publishing changes.
